

This weekend was largely spent rocking on the kitchen floor crying and clutching a bag of the marvelous Otto’s Cassava Flour. I had initially set out to make myself a nice batch of French stylee croissants to munch down on with my morning cup of Joe when things suddenly took a turn for the worst. My first batch of croissants were as delicious as the real thing but sadly not as flaky, in fact the outer layer was nice and crisp with a few flakes but the innards were something bearing more resemblance to a chewy, cake-like bagel (I know, I am just as confused as you are). My 11 year old son told me that they tasted amazing and that they were in fact better than the real thing “but they aren’t flaky mum”. I have to say that my son isn’t so easy to impress these days, not now that he’s a hormonal Kevin and Perry type pre-teen that hangs out on his BMX at the skate park with the local hoodlums – no siree… So yes I was, as any mother would be, incredibly proud of my deflated pile of croissants.
I know now what went wrong, like with all Paleo baking (and all Paleo flours) there just wasn’t enough elasticity to the dough, it was very absorbent, and it kept on cracking – this made the ‘laminating’ stage rather tedious as trying to work with a dough that doesn’t want to mould like the real thing with butter that doesn’t want to stay solid is basically a recipe for disaster. In the future I am definitely going to revisit my croissant endeavors and make sure that I incorporate a starch such as tapioca starch into the recipe – but for now the trauma is all too fresh. Sorry guys!
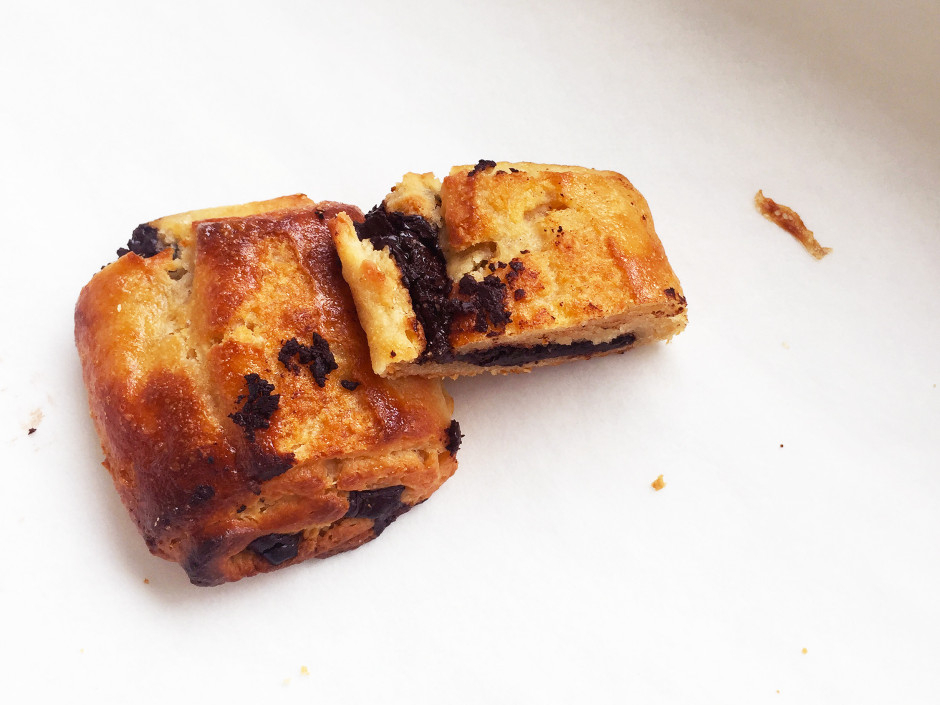
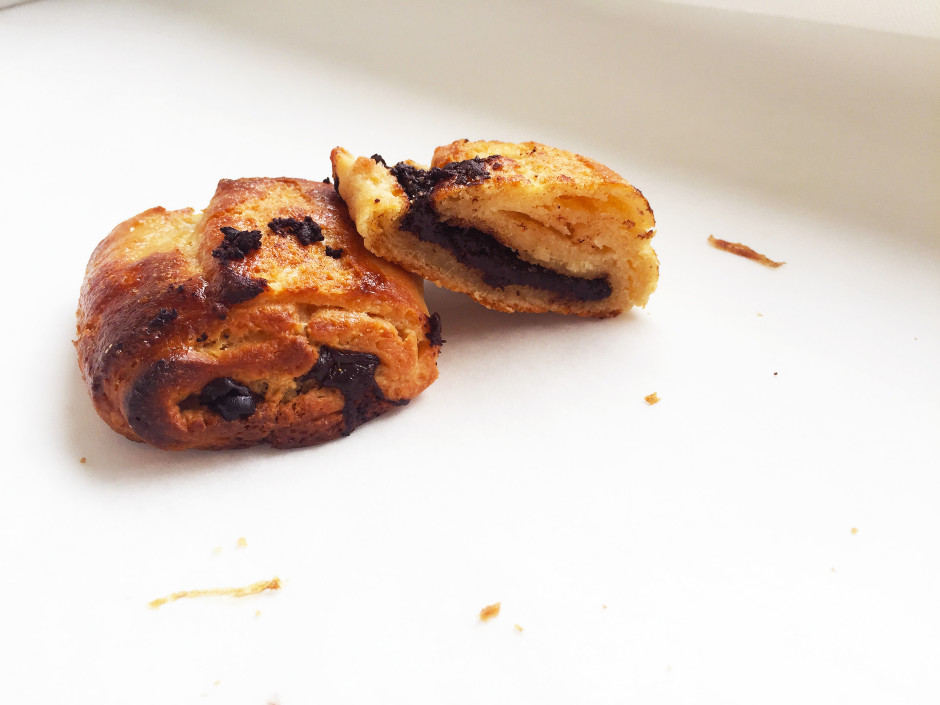
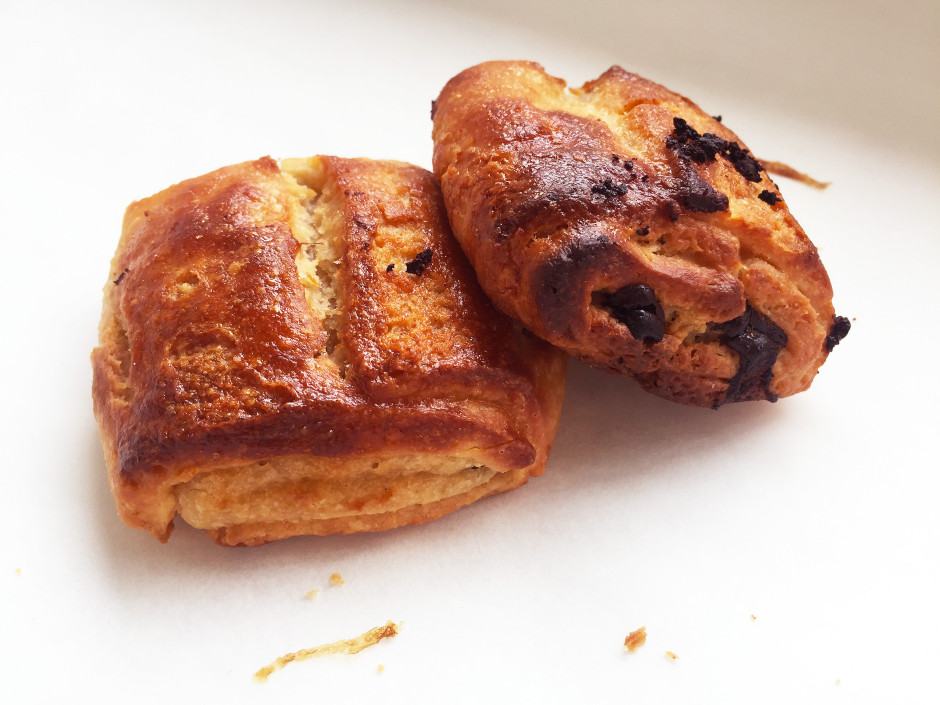
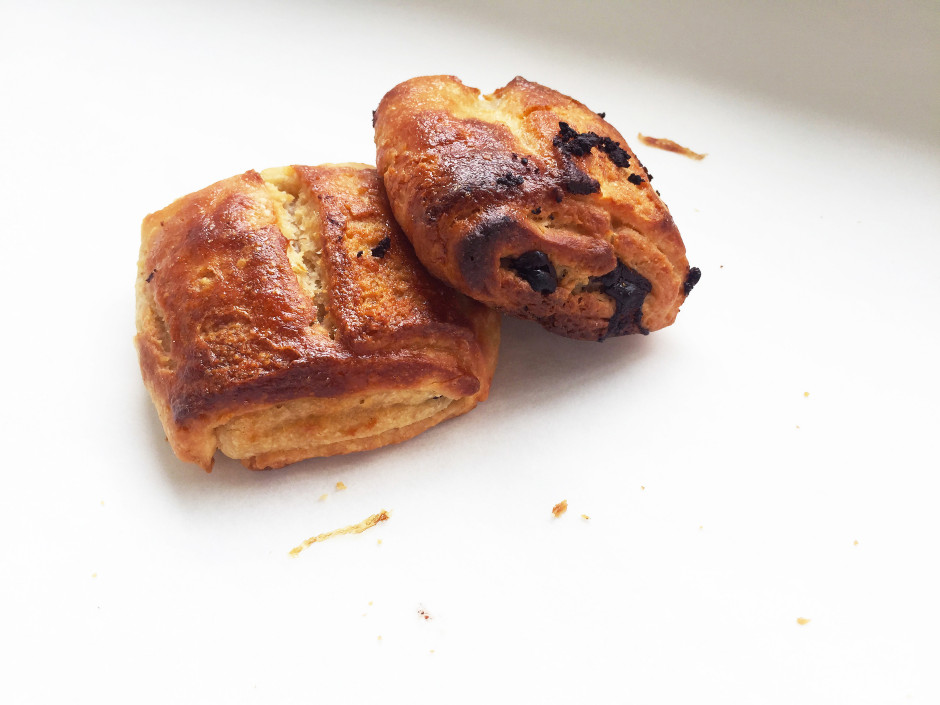
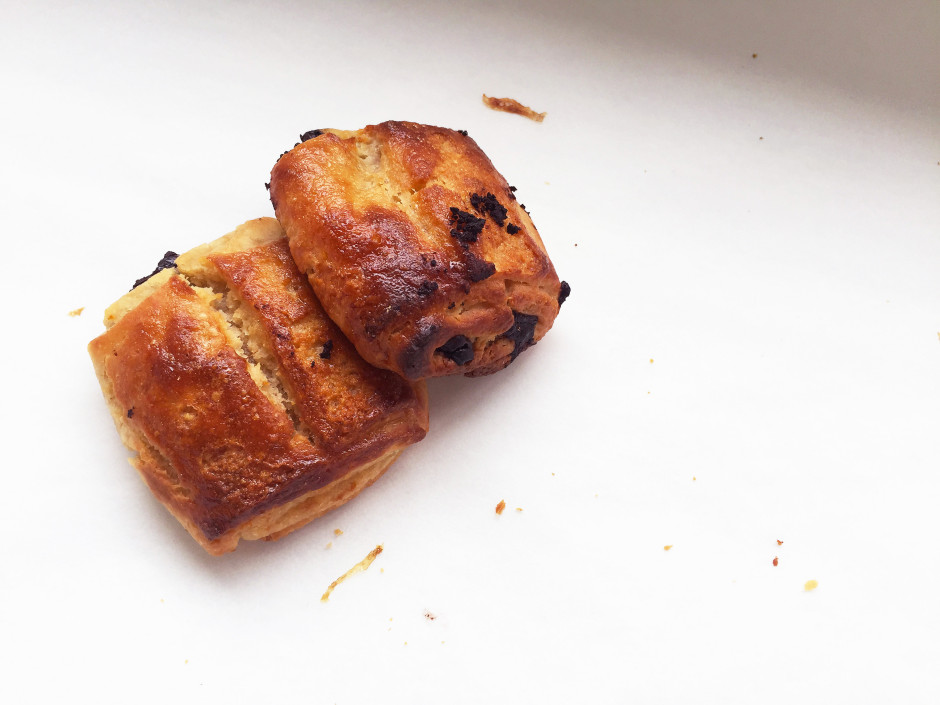
I had to salvage the dough that I had left, I found that a big croissant was just too heavy for my now very fine tuned gut and so opted for turning the dough into some scrummy Pain au Chocolat – which is yes you guessed it ‘bread with chocolate’. I thought that this would be a better idea as less dough was used and the chocolate sort of allowed for more air space around the dough thus flaking it up a bit.
What I loved about using Otto’s Cassava Flour is that the texture is just so unbelievably fine – as soon as I dug my hand into the bag it felt lusciously pillowy and soft just like real flour does. I’m yet to experiment a little more with their flour and so once I am done I do intend to write up a nice review for you all. If you struggle to bake because you are Paleo and have a nut allergy then this one really is for you!
This recipe isn’t for the novice baker, even though the ‘real’ technique is simple in theory working with Paleo dough is no easy feat. Set aside a lot of time and a lot of table space – if you’re luckier than me that is as I have the world’s smallest kitchen worktop. Always use sheets of greaseproof paper to roll your dough between otherwise your dough will warm up and rip apart!
Yields: Roughly 16 medium pain au chocolat
Preparation Time: 2 hrs (plus 24 hrs overnight chilling time)
Cooking Time: 15-20 mins per tray
Utensils required: food processor/mixer, ruler, rolling pin, baking trays, cling film, lots of greaseproof paper/baking parchment!
Ingredients:
For the dough:
600g Otto’s Cassava Flour (plus extra for dusting)
3 tsp fast active dried yeast
1/2 tsp Himalyan pink salt
60g unsalted raw grass-fed butter
275ml coconut or nut mylk
250ml water
1/3 cup maple syrup
For laminating the dough:
300g unsalted raw grass-fed butter
For the filling:
160g-200g dark chocolate (85% plus cacao solids)
25g coconut sugar (optional)
For the egg wash:
2 eggs
1-1.5 tbsp water
Method:
- Start by combining all of your dough ingredients into the bowl of your stand mixer using a dough hook. Knead the dough for a few minutes until it just comes together. You can do this by hand but you might find it a bit tricky.
- Shape the dough into a disc like shape and refrigerate overnight.
- Next take a large piece of greaseproof or parchment paper and draw the outline of a 17cm x 17cm square. Slice your 300g of butter into fairly thin slices and begin to lay them out as evenly as possible filling the square. Take another piece of greaseproof and lay it over the top, using a rolling pin bash out the butter until you can get it to fit the square nice and evenly. You may want to use a butter knife to carve it into a more perfect square at the end. Wrap in paper and cling film and place into the fridge overnight with your dough.
- The following day remove your dough from the fridge, lightly dust with a little cassava flour and roll out using your rolling pin into a square of approx 26cm x 26cm (see why you need the ruler now?!). Make sure that you continue to use greaseproof paper layers to roll your dough throughout the whole process. You want your dough to be an even thickness and as close to a square as possible. Trim any excess if needed and always make sure that you roll from the middle outward to the sides in order to keep the dough even and level.
- Remove your butter square from the fridge, unwrap and place at a 45 degree angle in the centre of your square of dough. It should look a bit like a diamond. Pull over the corner of the dough into the centre of the butter, repeat with all corners one by one until all corners have been folded. Lightly press with the palm of your hand to seal the butter in.
- Lightly dust your dough with flour and carefully roll into a rectangle of 20cm x 50cm using the greaseproof paper method as before. You may find at times that you need to use the palm of your hand to help to stretch the dough further and then the rolling pin to even out the surface. If you struggle to get to the length of 50cm do not panic just get as close as possible!
- Fold your dough ‘letter style’ by folding one side of the rectangle one third in and then the other end one third on top. Wrap in cling film and return to the fridge for 30 minutes.
- Remove your dough from the fridge, turn 90 degrees so that the ‘opening’ is facing you, roll into a rectangle of 20cm x 50cm again, letter fold, wrap in cling film, return to the fridge for 30 minutes. Repeat the process one more time.
- Remove your dough from the fridge and roll out into a rectangle of 20cm x 100cm. If you find that you do not have the countertop space then cut the dough in half first and then roll out two halves to 20cm x 50cm. You your dough to be at a thickness of between 5 and 7mm.
- Grease and line your baking trays and put the light of your oven on ready to prove the dough.
- Slice your dough into 20cm x 6cm pieces, place a square (roughly 10g) of chocolate at the top end of your rectangle, sprinkle with coconut sugar (optional), and carefully roll and ‘tuck’ the dough in toward you. Place onto your baking tray and then repeat until you have used all of your dough.
- Whisk your 2 eggs and water in a cup and using a pastry brush lightly egg wash all of your pain au chocolat. Cover your baking trays with lightly oiled cling film and place in the oven to prove until they have doubled in size – this will take about 30 minutes if you are lucky! If you have quite a hot oven then you may want to use two damp tea towels instead but be warned you will end up with a little dough sticking onto them!
- Uncover your pain au chocolat and egg wash them one more time. Place into the oven at 200 ºC for 15 to 20 minutes. If you feel that they are browning too quickly simply lower your oven down a notch! Bake until nice and golden and be sure not to burn that yummy chocolate!!!
- Serve with a nice cuppa coffee and enjoy! Store in an airtight container for up to 3 days. Re-heat in the oven for 5 minutes until warmed through.
If you’d like to follow Ottos Cassava Flour online then check out the links below:


4 Comments
Amy
18th August 2015 at 4:58 pmWowee! These look amazing! I used live off the ‘real’ things back in my junk food days! I’m definitely going to have to try these out – thanks Georgie for being so amazingly inspirational in the kitchen, again, and again! A x
greensofthestoneage
26th August 2015 at 6:57 amSorry for the late reply Amy I’m trying to catch up . Thank you so much for the kind words! I used to be the same too as they are gorgeous! Let me know if you make them! X
riverbaggins
28th July 2018 at 5:38 pmHave you played with a “Paleo” version, no dairy? All I can think of off the top of my head is palm oil to replace the butter, same consistency/play…. ?
greensofthestoneage
29th July 2018 at 8:54 amI haven’t no but palm shortening rather than the oil could work well. Also I’d try a mixture of Shea butter and another oil possibly palm or coconut melted together and made into a solid block before slicing and using as butter. It’s definitely a recipe I’d like to revisit as feel it needed much more elasticity to it! Thanks for stopping by 🙂