So I’m a little bit late on sharing my new Halloween recipes, things have been super manic in my house I’m sorry 🙁 . But even if you can’t get a hold of any moulds you can use some regular chocolate ones and they’d still be fun! If you want to make these chocolates a little more ‘adult’ like then add a dash of Chambord Black Raspberry Liqueur to the ‘blood’ – although Chambord isn’t very Paleo it is indeed gluten-free.
I used these skull moulds from Lekue which actually contain a fun little game of Russian Roulette where you can make one of the chocolates ridiculously spicy with some crushed chillies! I bought these moulds so that they weren’t too scary for my little one Anya as at the moment she is terrified of literally everything! If you’re looking for something a little more scary then something like this would be a bit better.
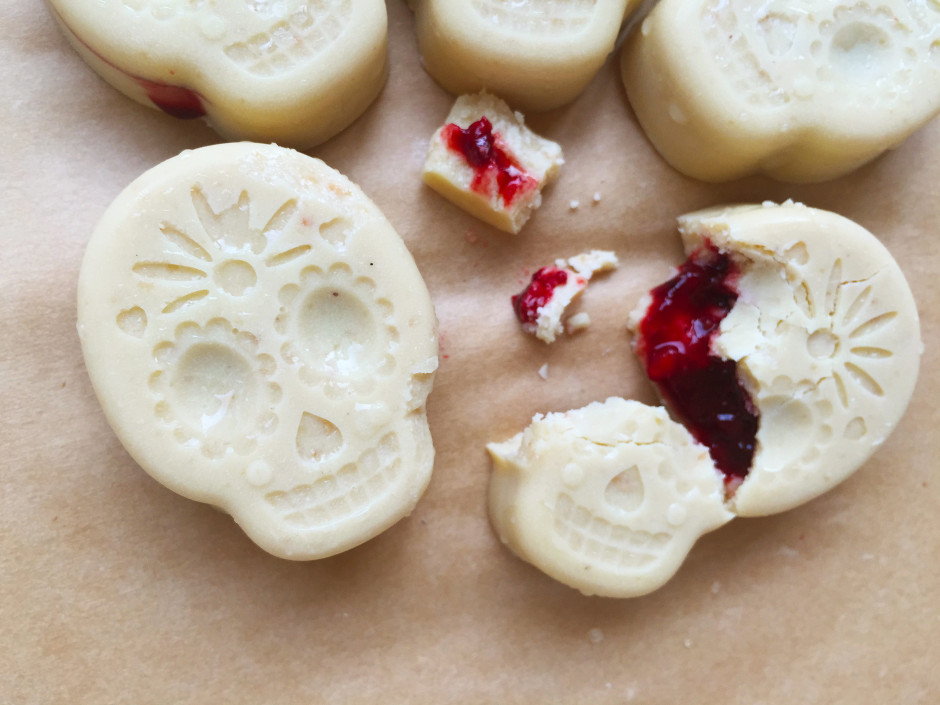
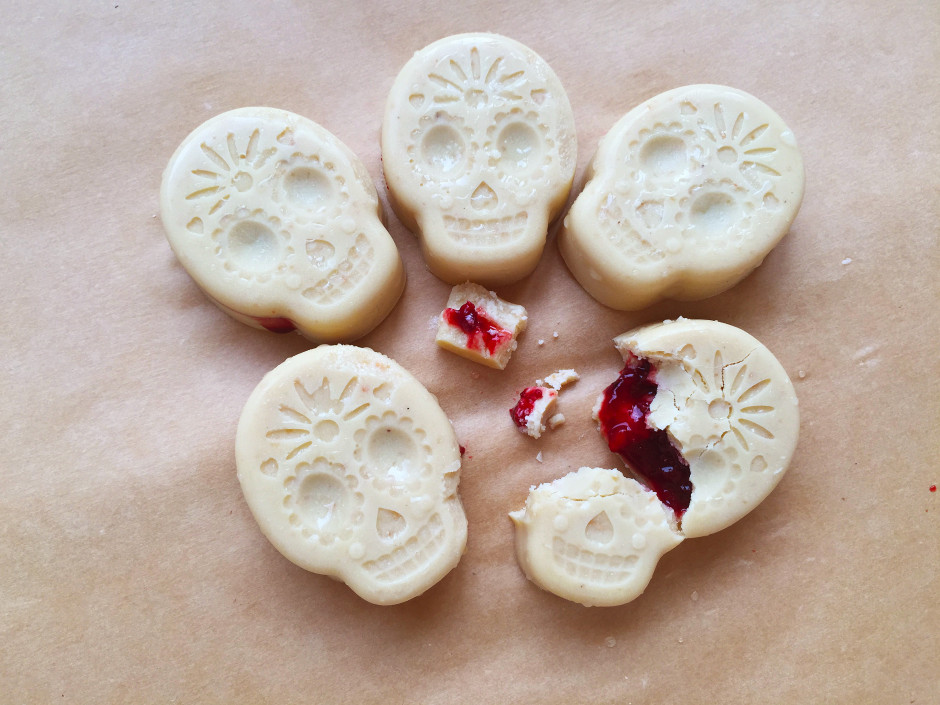
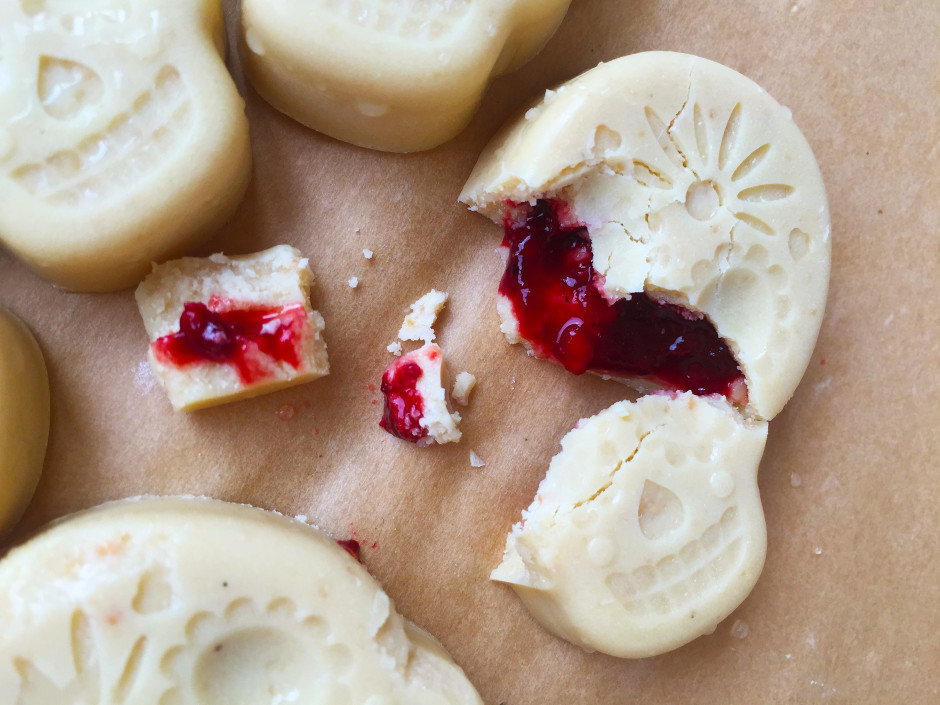
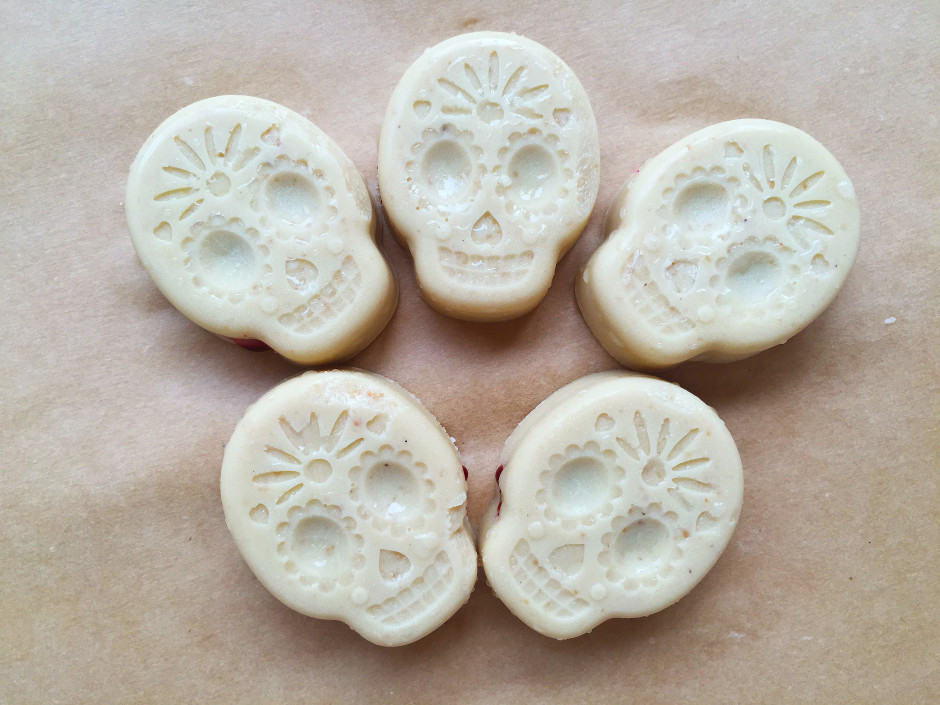
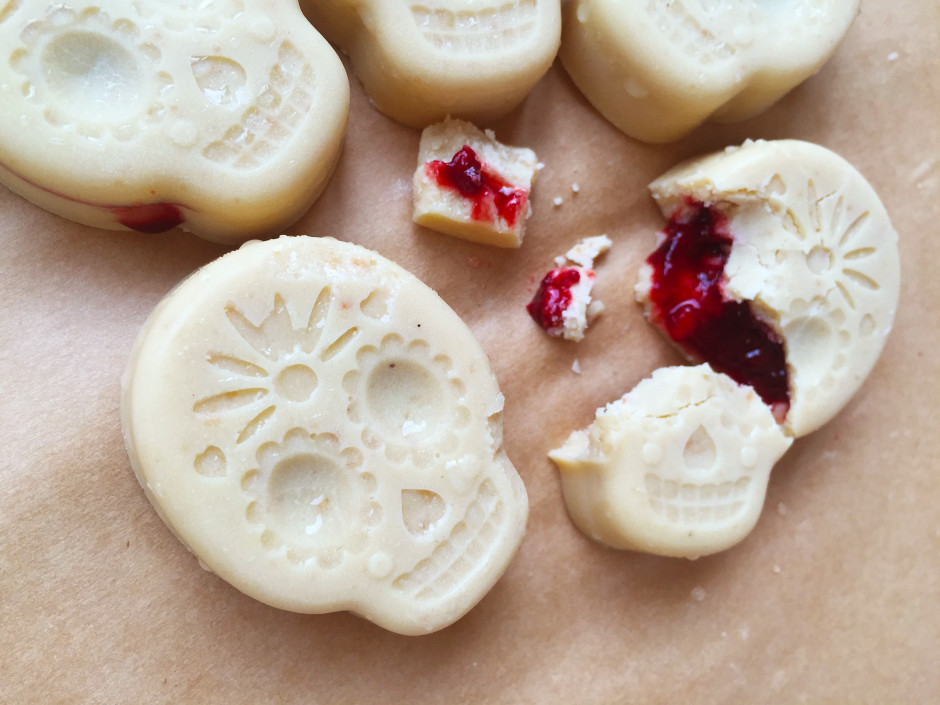
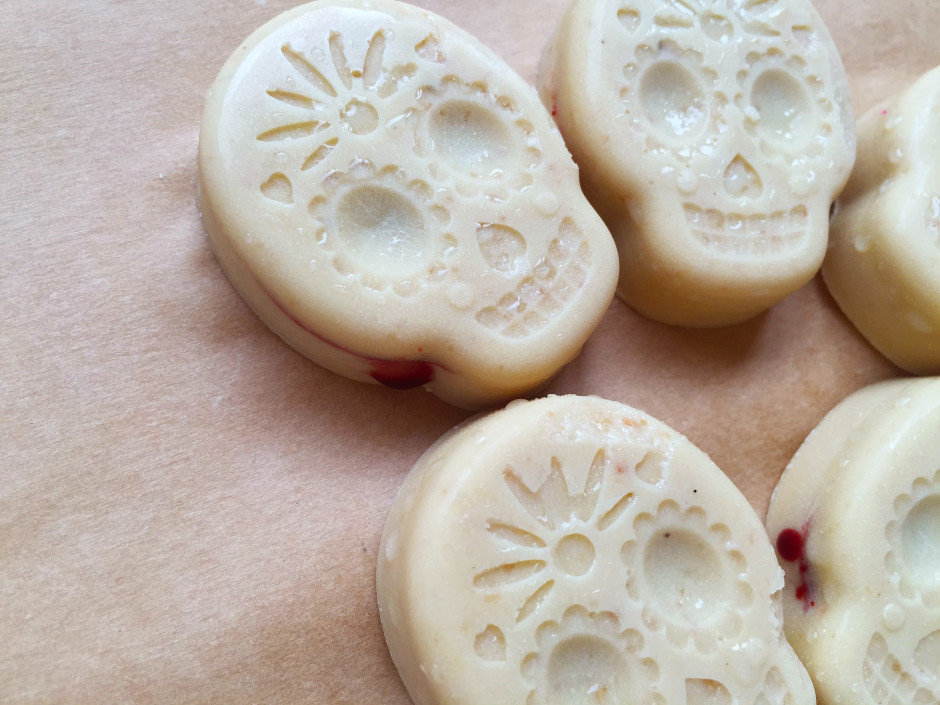
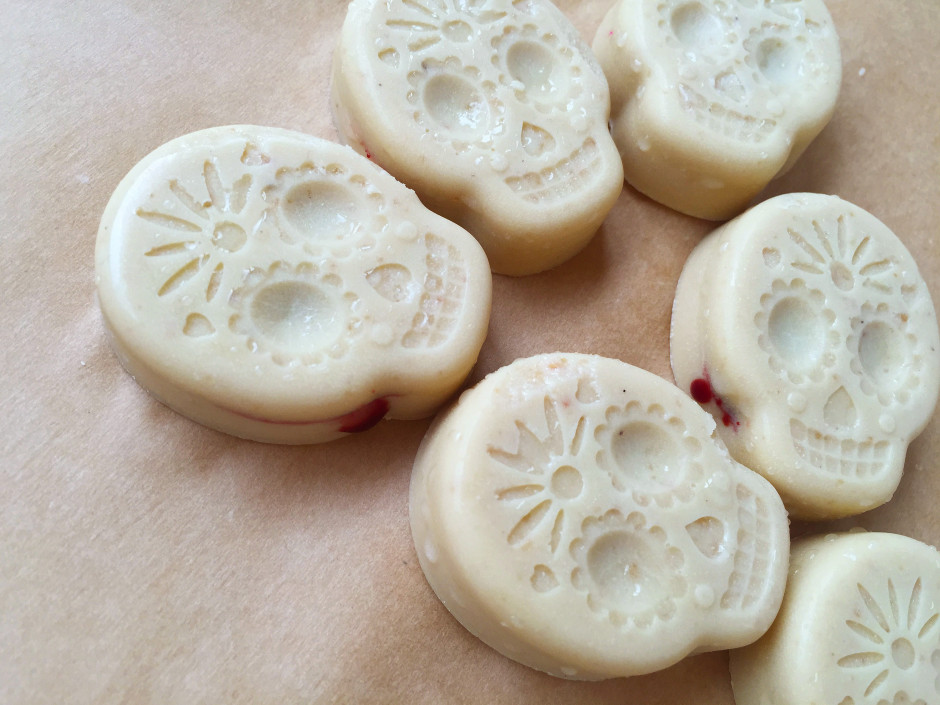
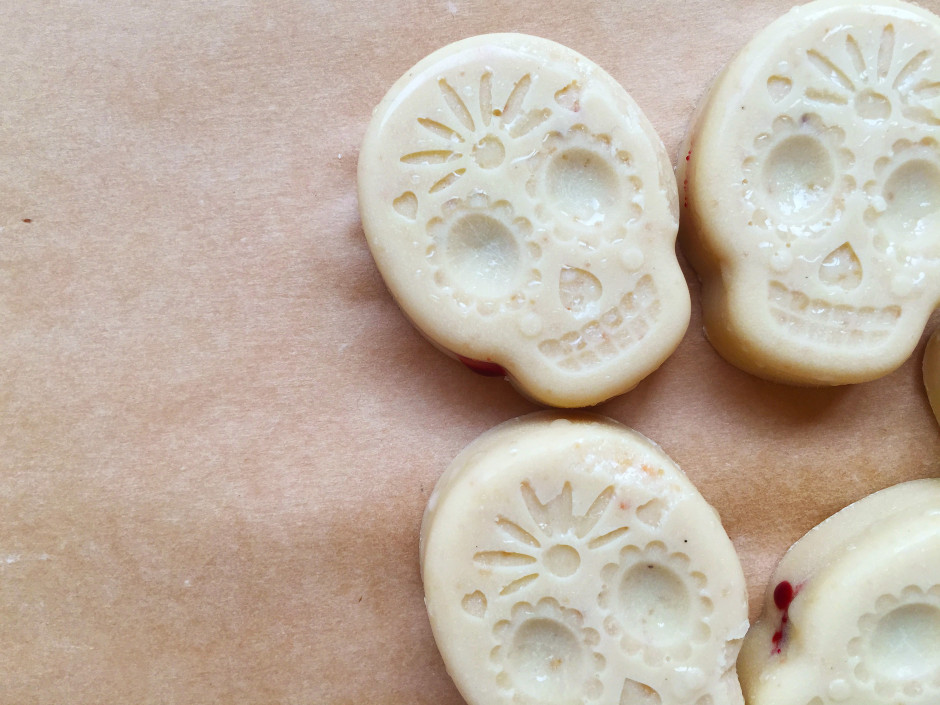
The ‘skulls’ are made of a deliciously melt in your mouth, raw and dairy-free, white chocolate and are filled with a berry ‘blood’ coulis – but don’t worry no puppies, lambs, babies, or ghouls were sacrificed in the making of these devilishly delicious treats!
So Happy Halloween guys! I hope you enjoy!
White Chocolate ‘Oozing Blood’ Skulls
Yields: 18 skull chocolates
Prep Time: 10 minutes (plus 1 hour setting time)
Cooking Time: 15 minutes
Suitable for vegans, vegetarians and those following a gluten-free or Paleo diet. These aren’t suitable however for anyone with a nut allergy as these contain cashew nut butter.
Ingredients:
For the white chocolate skulls:
100g cacao butter
85g raw cashew butter
3 tbsp coconut milk
1.5 tbsp maple syrup
2 drops vanilla extract organic essential oil or 1/4 tsp vanilla powder
Pinch Himalayan pink salt (if coarse grind into a fine powder)
For the ‘blood’ filling:
6 tbsp frozen red fruits
8-12 tbsp water
2 tbsp raw honey or maple syrup (or sweeten to your personal taste)
2 tsp freeze dried fruit powder (optional but great!)
A splash of Chambord Black Raspberry Liqueur (optional)
A couple of drops of black food colouring
Method:
- Place all of your ingredients for the white chocolate except for the essential oil/vanilla powder into a small heatproof bowl. Place over a bain-marie on a low heat. Heat the ingredients until fully melted and make sure to stir frequently with a silicone spatula until fully combined. Remove from the heat and leave to cool for 5 minutes.
- Stir in your essential oil/vanilla powder and pour into the separate indentations of the mould, filling them only about just under 1/3 of the way. You might want to leave the chocolate for 5-10 minutes before transferring into your freezer to set as sometimes it can just be hard to manoeuvre without spilling! Once in the freezer leave for 15 minutes until fully set.
- Whilst you are waiting for your chocolate to set make a start on your blood filling. In a small saucepan add all of the ingredients except for your Chambord (if using) and black food colouring. Place over a low heat and cook until simmering. Make sure to squash down the berries as much as possible. This will take around 10 minutes max. You want the sauce to be fairly runny but for the fruit to be soft enough to pass through a sieve.
- Once your fruit is cooked through pass through a sieve so that you have a nice runny blood like sauce. You may thin it down a little with a bit of water if you’d like. Stir in your black food colouring and set aside.
- Remove the moulds and divide the mixture equally between them. Place the moulds back into the freezer for 5-10 minutes. Remove and spoon over the rest of your white chocolate mix until the indentations are fully filled. Place back into the freezer for about 20-30 minutes until fully set.
- Remove from the freezer and carefully pull away the edges of each indentation gently pushing the chocolate upward at the same time. Repeat until all chocolates have been removed and either eat straight away or store in an airtight container in the fridge. These are best enjoyed when they have been left at room temperature for 10-15 minutes.



4 Comments
Mark
26th October 2015 at 7:18 amHaha wow! They look amazing! You really went all out, seems like it would be a shame to eat them!
greensofthestoneage
26th October 2015 at 12:59 pmHey Mark,
Thank you for such a lovely comment!
I always go all out at Halloween haha! I’ve got some more yummy Halloween treats coming 😉
Rachel
29th October 2015 at 8:39 pmAmazing! Pinned like whoa! But have you ever considered taking your shots in portrait orientation? So big and pretty on Pinterest…
greensofthestoneage
16th November 2015 at 7:16 pmApparently it does take me FOREVER to reply to comments, I’m so sorry. Do you know what you are so right about portrait photos, I know I need to do it but I always forget – next time I will remember now you’ve given me a much needed kick up my ass ha! Thanks so much for stopping by and sharing the love – you’re a superstar! xx