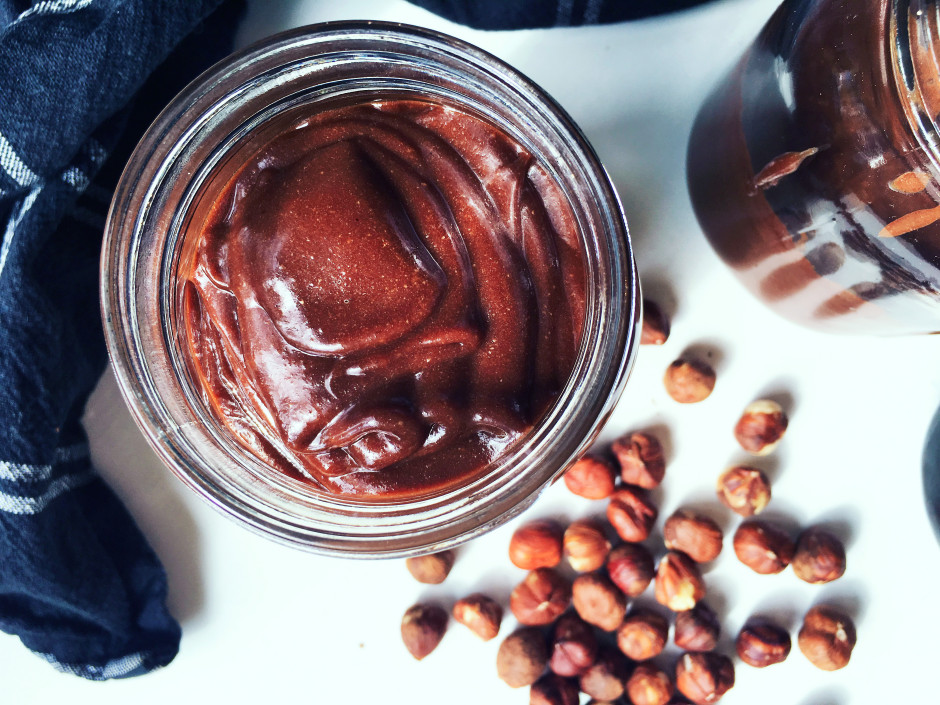
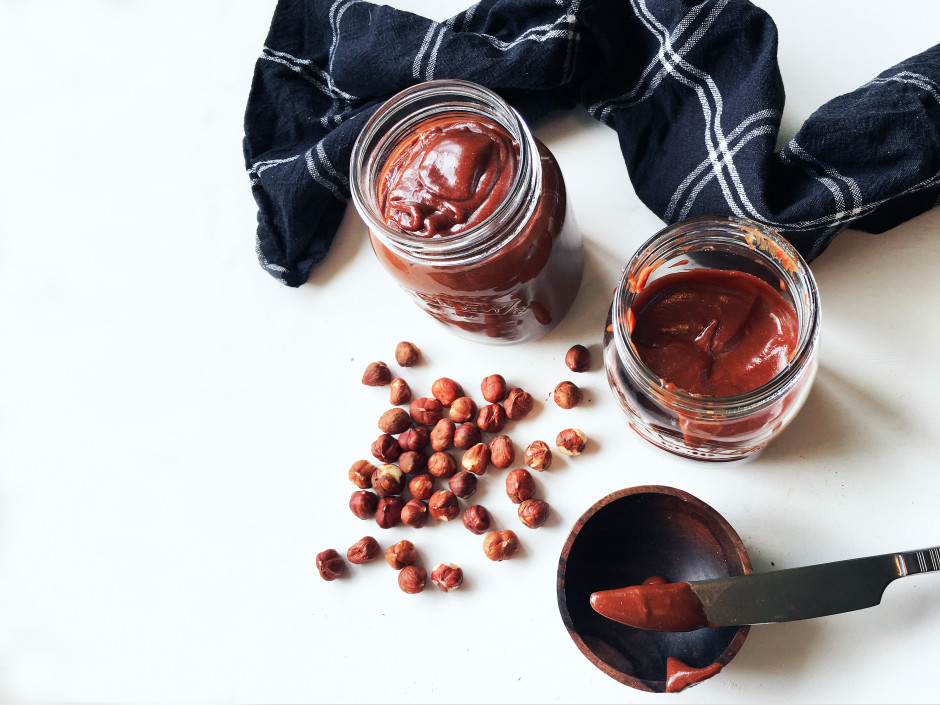
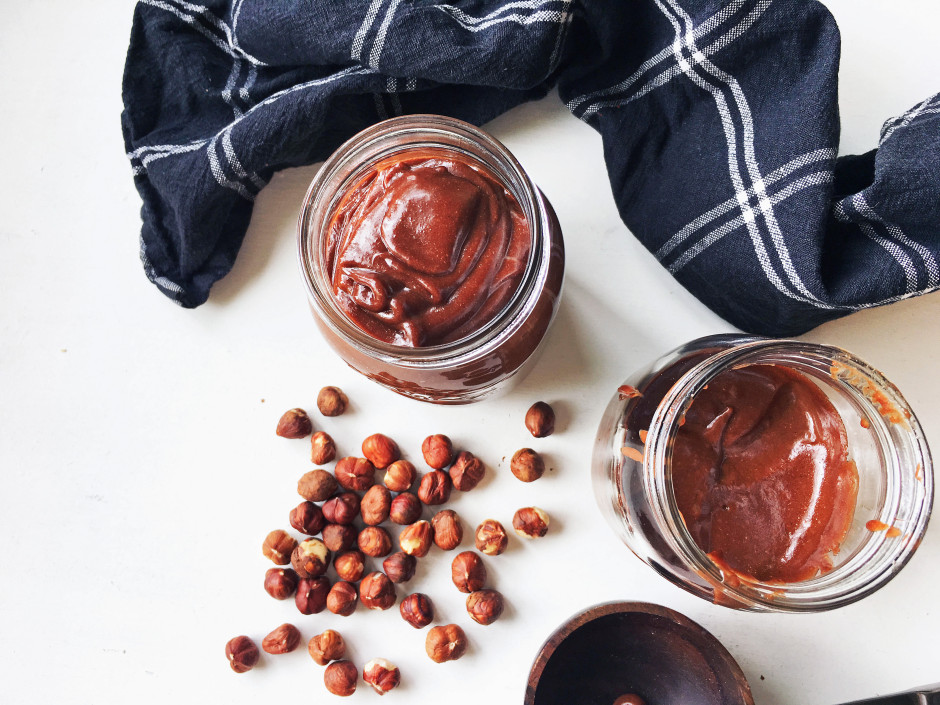
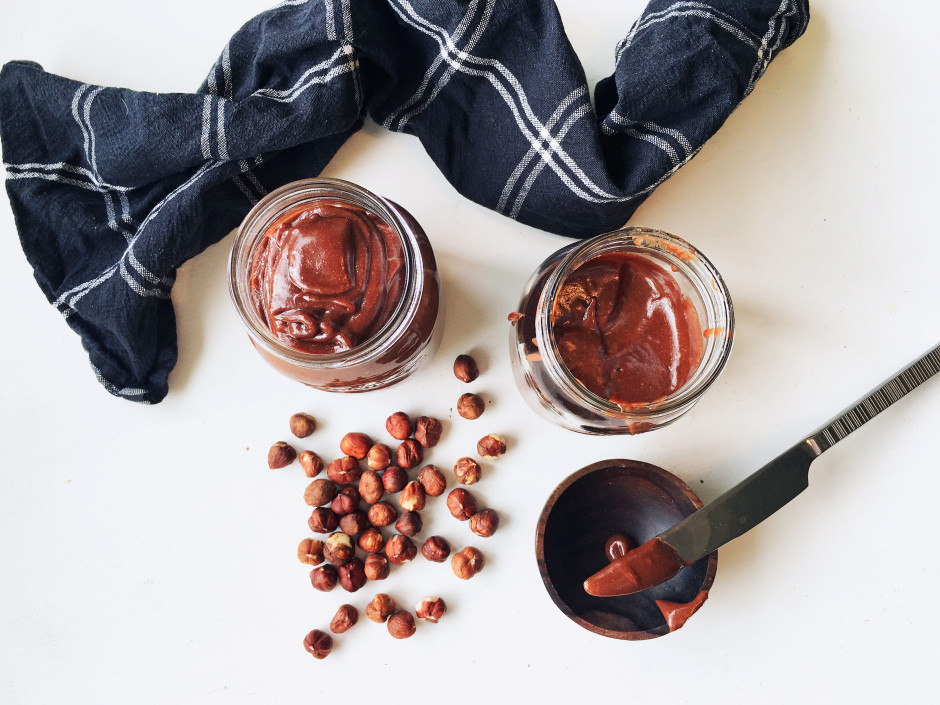
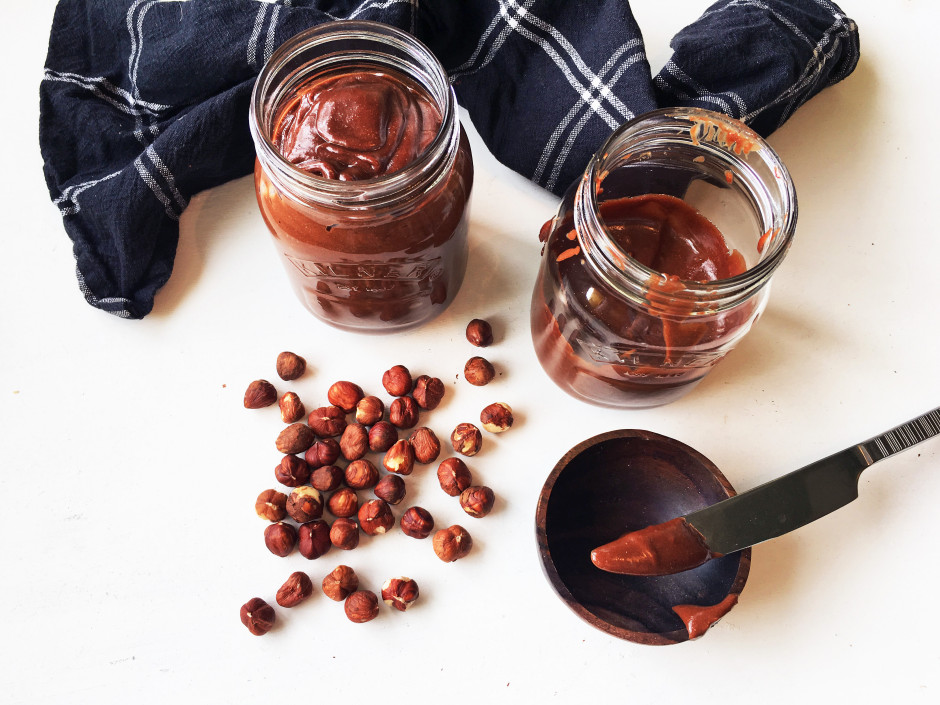
Nutella, what’s not to love? Well for starters the overwhelming amount of sugar that it contains, not to mention unsustainable palm oil, and dairy. If you’re vegan or Paleo then Nutella is so out of the picture for you but all is not lost as you can make your own, and it’ll be pretty damn close to the real thing.
Firstly, let’s take a look at Nutella’s ingredients in a nutshell just to remind us all what we’re not missing out on: Sugar, palm oil, hazelnuts, cocoa, skimmed milk powder, whey powder, lecithin, and vanillin.
Yuck…
And yes pretty much all of that is refined and/or artificial. So as you can see it’s really not that healthy at all, but in its defense it sure is delicious. I had to come up with a way to create something that tasted almost identical to the real thing.
I decided to take a look at this photograph of a jar of deconstructed Nutella (be warned it’s pretty gross) and then come up with a recipe based upon those proportions, but of course with much healthier ingredients. This was no easy feat considering that healthy ingredients don’t work the same way as their rather unhealthy counterparts.
A lot of recipes that I have seen use real chocolate – to me that sounds too faffy and well, too high class to be used in Nutella. The other things I see are coconut oil and coconut milk, which again just seems a little bit like coconut overkill, and although I used coconut milk in my recipe to loosen it up I also used coconut milk powder to stay as close to the original Nutella recipe as I could. My palm oil replacement was not coconut oil, but wait for it – hazelnut oil. This helped to counteract the strong coconut flavour and to keep that gorgeously toasted hazelnut taste that we all loved so much as kids. The overall texture of this spread is super smooth and fairly thick once it cools down, especially upon refrigeration, but if you’d like it a lot thicker then just reduce the amount of coconut milk to 2/3 cup.
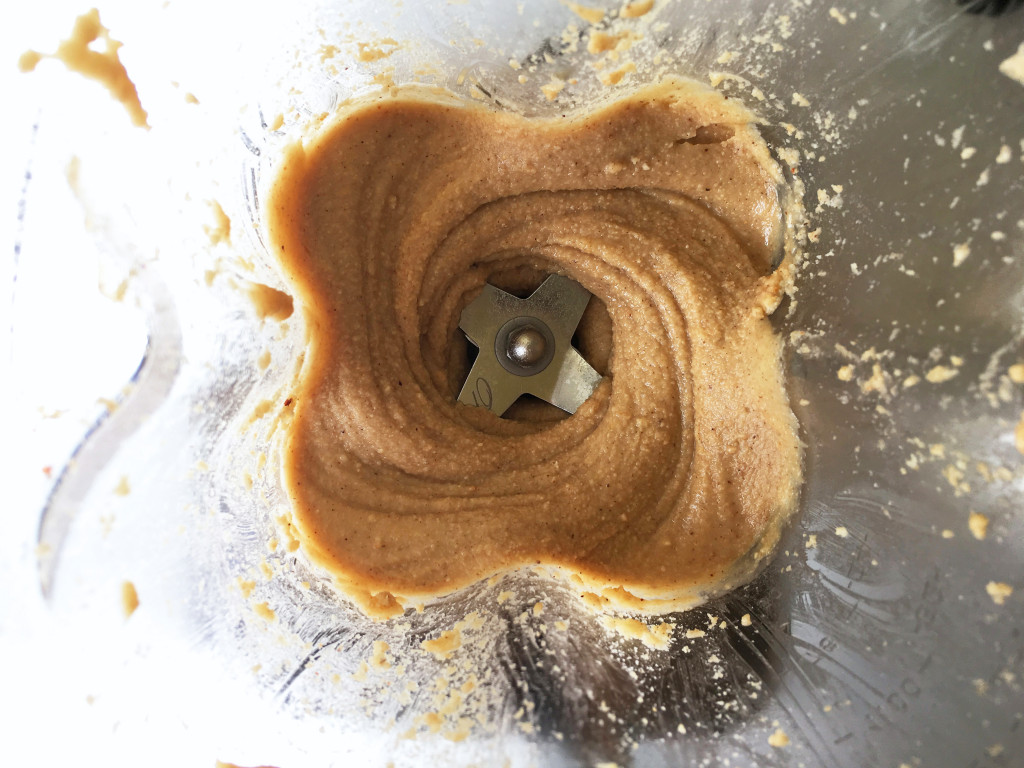
Another thing you’ll need is a really good blender or food processor to make it super smooth – because Nutella is not bitty! I used my amazing Froothie Optimum G2.1 Platinum Series Blender which retails at around £429.00 and is well worth investing in I have to say! I also own a Magimix but my Froothie Optimum literally destroys it, and I’ve also been lucky enough to use a Blendtec in the past and it works just as well if not better. The first stage of processing will be turning your hazelnuts into nut butter, I did this by using the grind function until it resembled something like ground almonds and then processed on low speed until it became a smooth butter. This took less than 2 minutes! I’ve inserted a little picture below for you to take a look at so you know the consistency you’re looking for before adding in the rest of your ingredients.
- 300g hazelnuts
- ½ cup coconut milk powder
- ⅓ cup plus 1 tbsp hazelnut oil
- ⅓ cup cacao powder
- ¼ cup plus 1 tbsp maple syrup
- 1 tbsp vanilla extract
- ⅛ tsp fine Himalayan pink salt (if coarse grind)
- 1 cup tinned coconut milk (or ⅔ cup for a thicker spread)
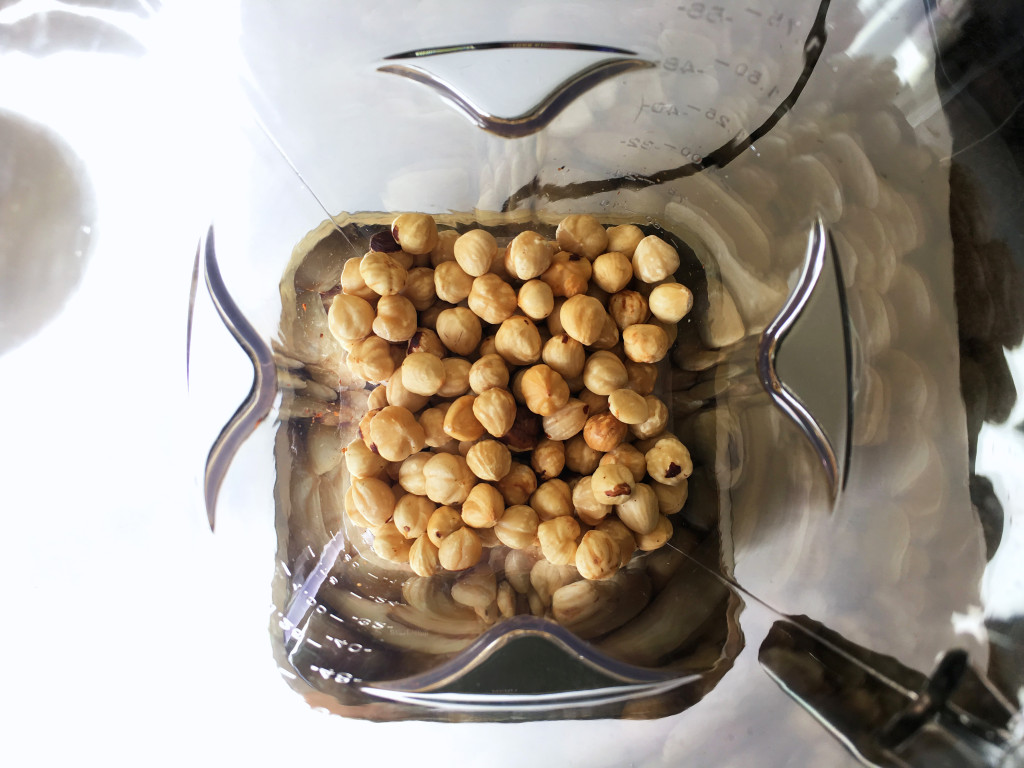
- Start by pre-heating your oven to 180°C/350°F/Gas Mark 4. Spread out your hazelnuts onto a baking sheet as a single layer and place them into the oven for 10-12 minutes, until they’ve browned a little and the skins begin to fall off. Remove from the oven and wrap them in a clean kitchen towel and leave them for a few minutes to help the steam loosen the skins.
- Rub the hazelnuts vigorously within the tea towel to remove as much loose skin as possible. Some skin will still cling to the nuts - don't worry this is inevitable. Leave the hazelnuts to cool completely.
- Place your blanched hazelnuts into the bottom of your blender and pulse a few times before using the grind function. If your blender doesn't have a grind function blend on a low speed. Stop periodically to scrape down the sides with a silicone spatula. Once your hazelnuts resemble the texture of breadcrumbs increase the speed of your blender until the hazelnuts turn into a smooth butter as pictured above. I used speed setting 1 and then 2 on my Froothie blender.
- Next add all of your ingredients except for your coconut milk and pulse a few times before blending on a low speed. I worked from speeds 1-3 at this stage of the process. Once the ingredients are fully incorporated add your coconut milk and process on a low speed again until smooth, be sure to scrape down the sides frequently to incorporate all of the ingredients fully.
- Pour/spoon your nutella into clean, airtight jars and store in the refrigerator for 2-3 weeks. Spread onto waffles, pancakes, toast, or just eat it straight from the spoon like I do!



6 Comments
Sus // roughmeasures.com
13th May 2016 at 8:47 amLove this recipe Georgina! I haven’t tried making nut butter in my G2.1 yet but have bought a stash of nuts to get making some this weekend!
greensofthestoneage
15th May 2016 at 4:35 pmAwww thank you! Let me know how it goes! And if you’ve any fun recipes to try out in the G2.1 let me know! xx
Sarah
20th May 2016 at 11:26 pm‘ve never seen that deconstructed picture of Nutella before and it says everything really! Gross! Can’t wait to try out making nut butter in the g2.1! 🙂
greensofthestoneage
23rd May 2016 at 3:00 pmI know it really makes you think! Nothing better than making a little nut butter in the g2.1! Thanks for stopping by Sarah x
choclette
27th May 2016 at 8:56 pmThis looks so delicious and I love how you’ve added the coconut to it. I really must try getting my hands on powdered coconut milk. I’ve only recently heard of it.
greensofthestoneage
1st August 2016 at 3:23 pmHey! I’m so sorry for the late reply – a whole bunch of comments got lost in a sea of competition comments 🙁 so sorry. Sweet Rev sell some organic and clean coconut milk powder that’s super dreamy. I’d highly recommend! Also great for taking camping!