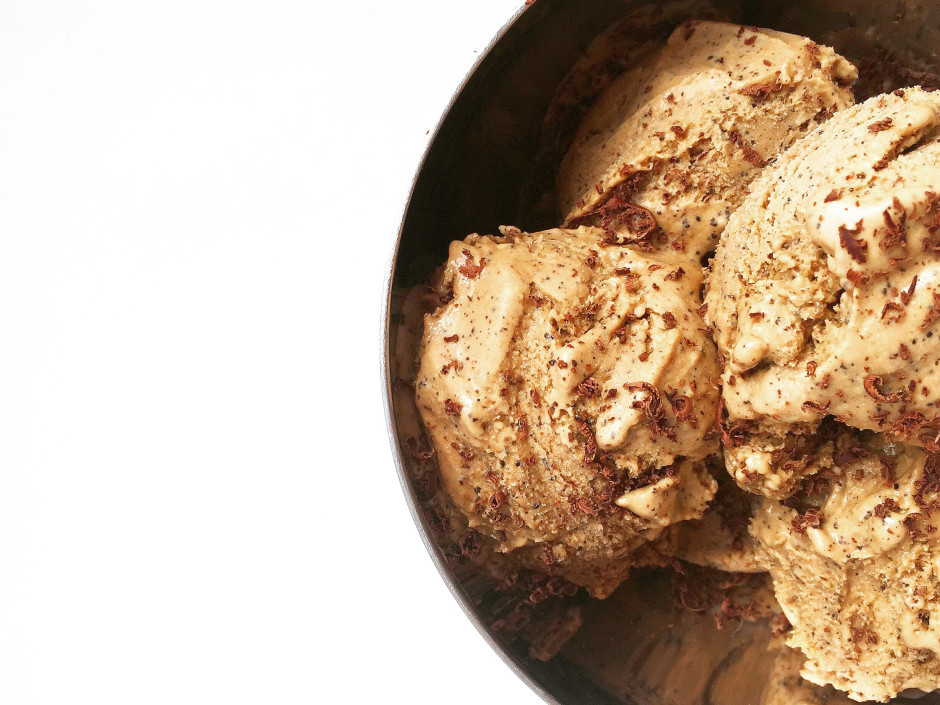
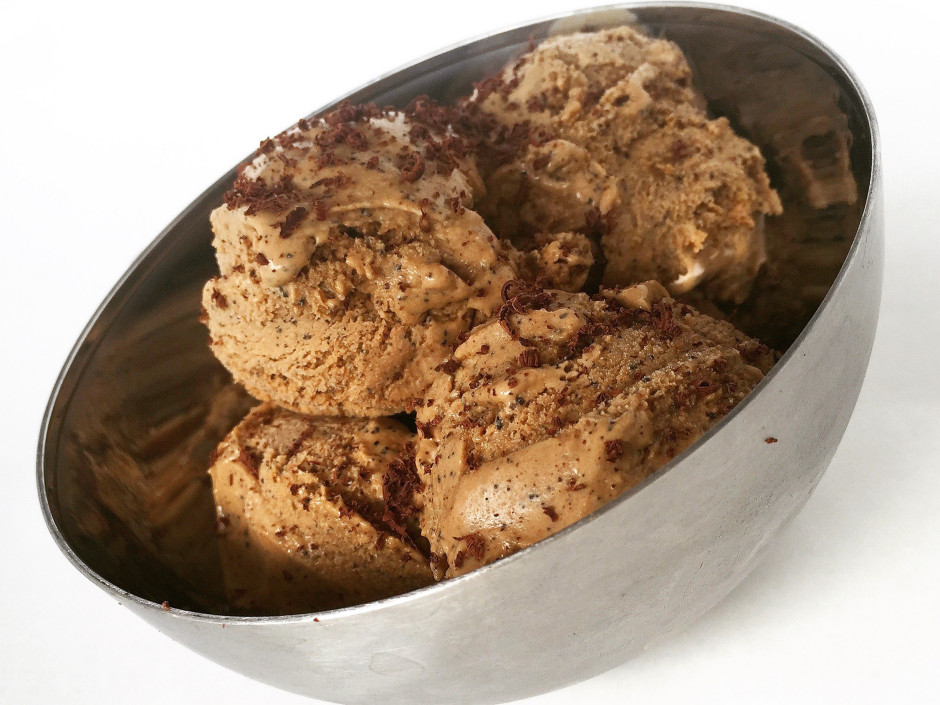
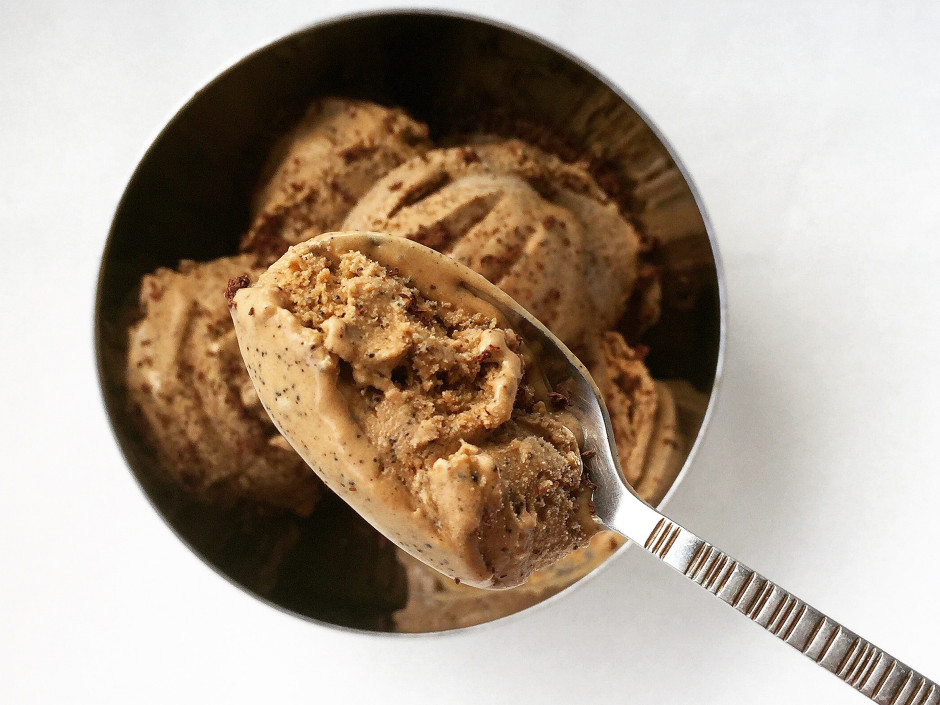
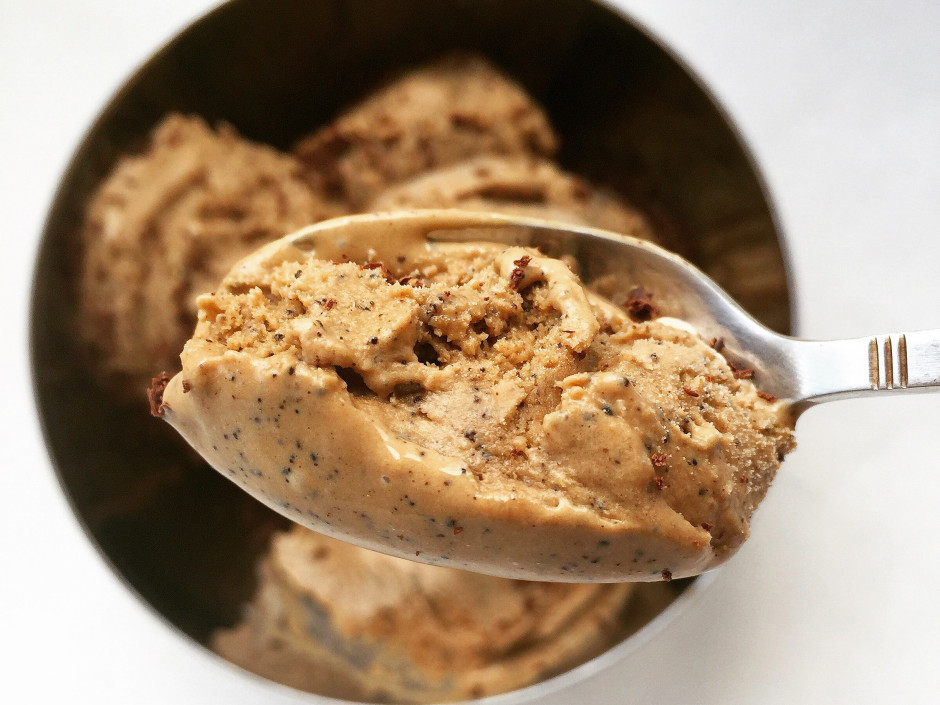
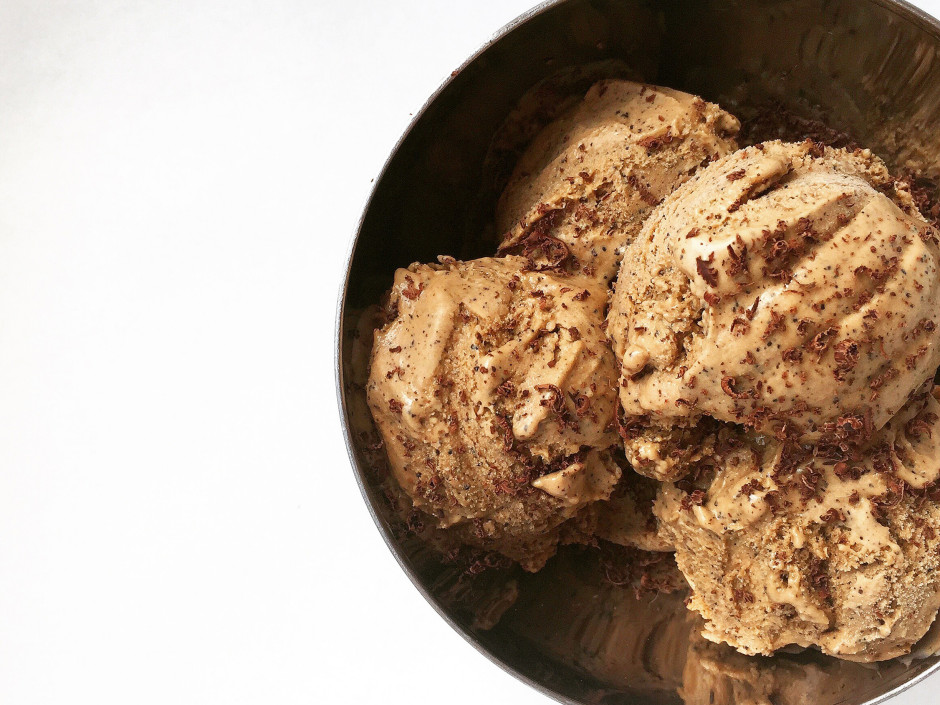
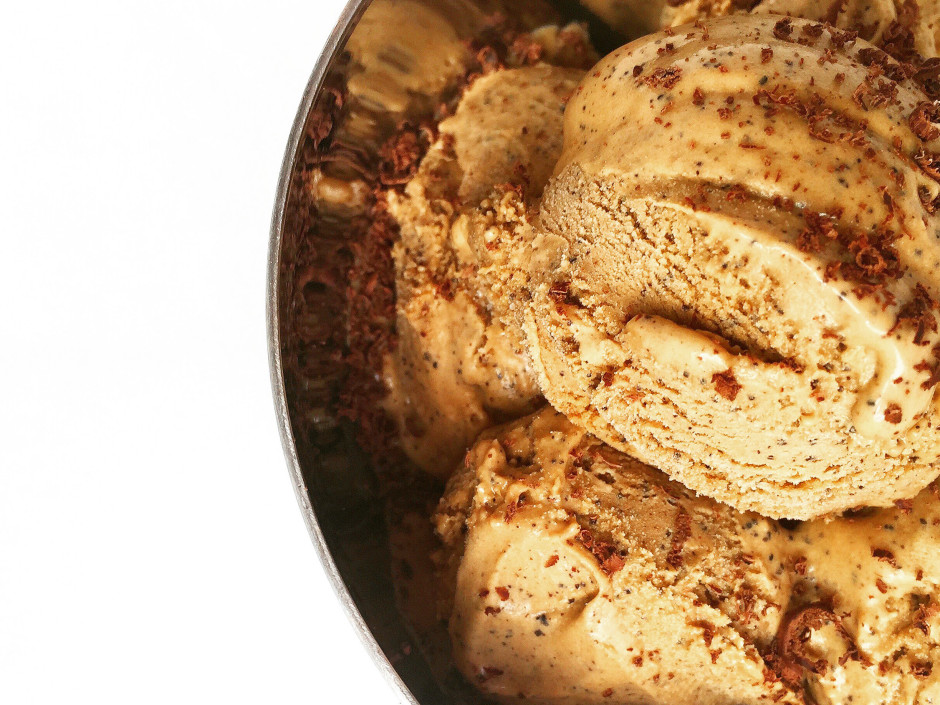
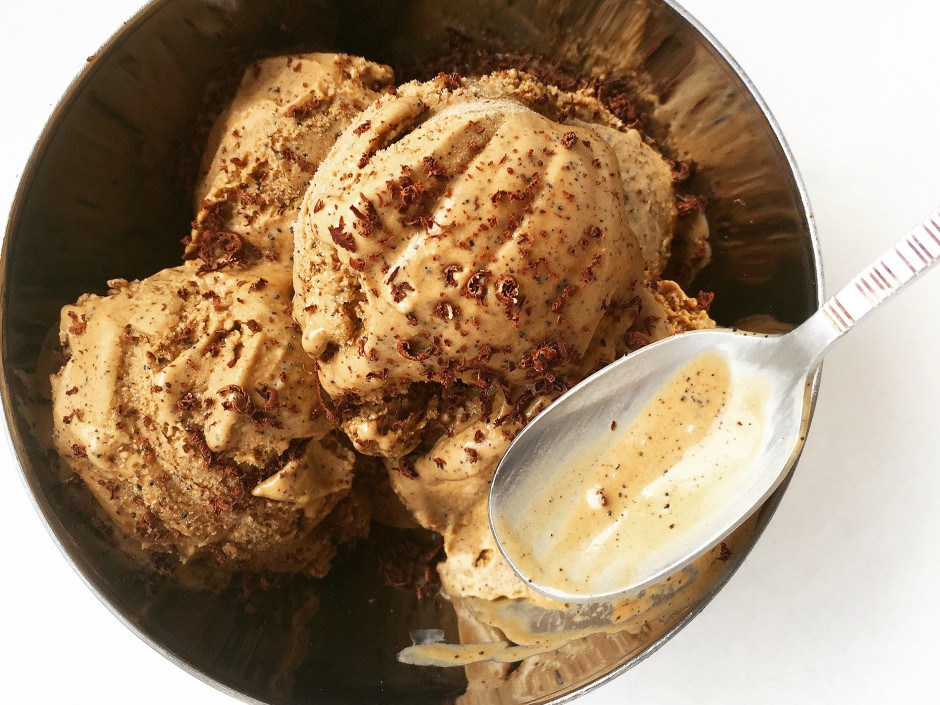
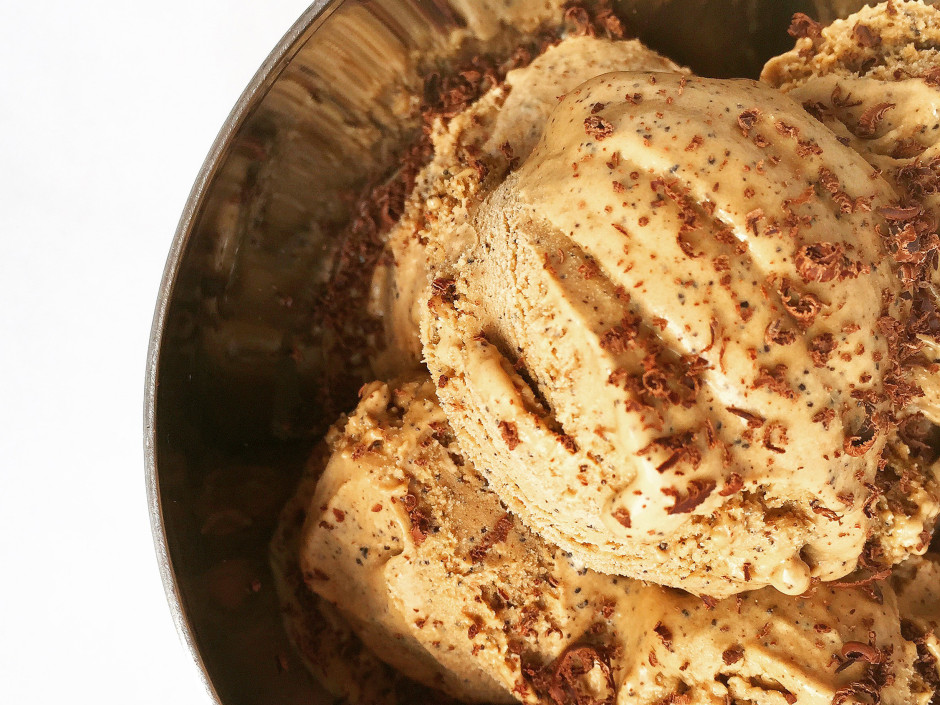
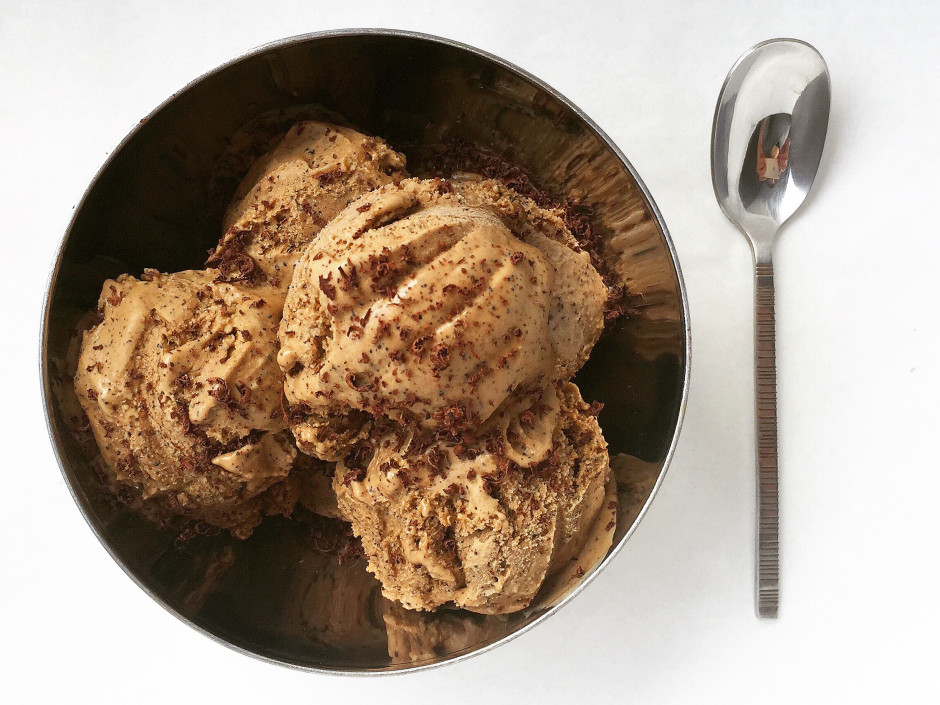
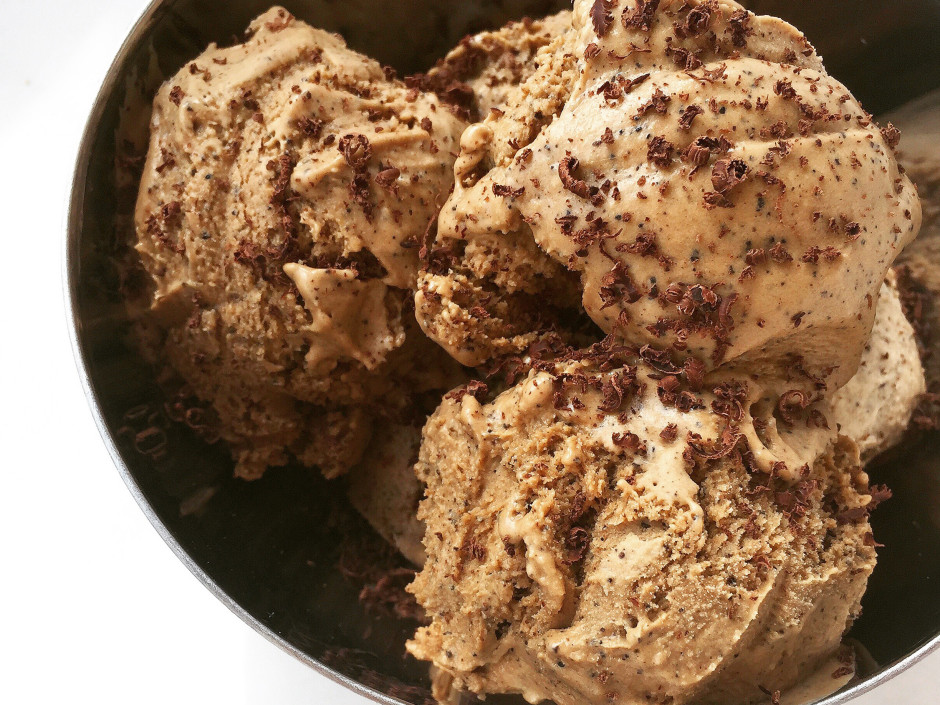
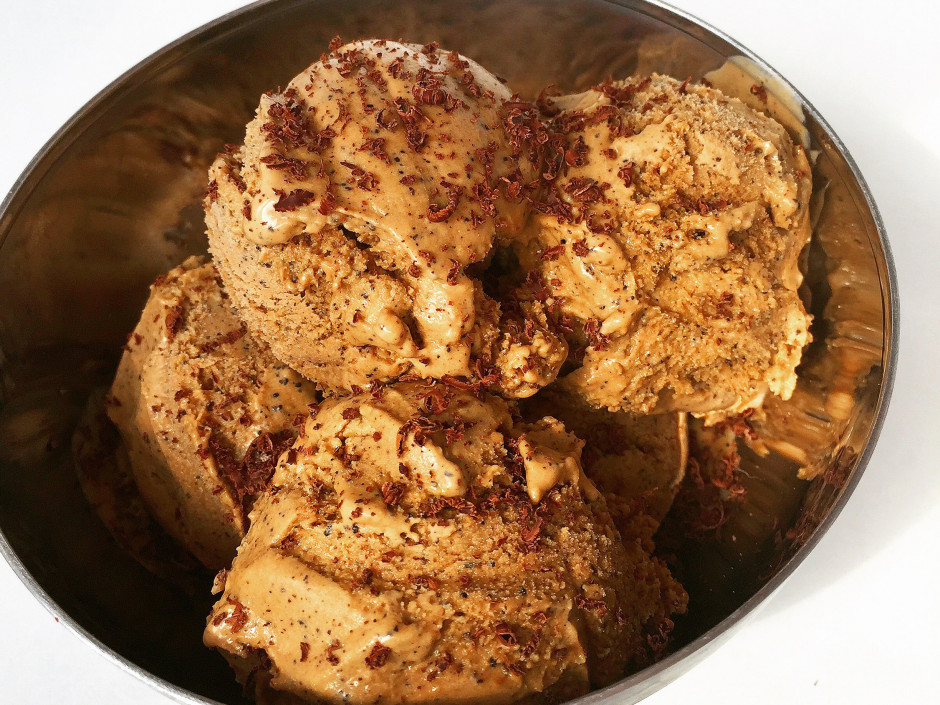
This Paleo Almond Coffee Ice Cream is THE BEST ice cream that I have ever tasted! I am seriously considering starting my own ice cream business after this, but honestly it is truly amazing, it tastes like a mixture somewhere between amaretti biscuits and Tiramisu, and it is super smooth (even when making without an ice cream maker). Although this is egg based it does not taste eggy at all just creamy and rich, the taste of the coconut milk and cream are also not noticeable due to me adding the cacao butter and in fact this gives it an almost dairy like quality.
If you don’t have an ice cream maker then don’t worry invest in a dirt cheap electric hand mixer it will make all of your mixes super simple and effortless. I actually made this with a hand mixer as the bowl of my ice cream maker doesn’t fit into the freezer due to it being too big and used my food processor right at the end of the process although this isn’t necessary to make it by hand.
I have tagged this as being a nut free ice cream as bitter almond extract is usually processed from apricot or peach kernels although if you do suffer from a severe tree-nut allergy then please omit this ingredient altogether as I have heard of people reacting to this as peaches and apricots are actually part of the almond family!
My other half doesn’t really think much to ice cream and he was begging for more and licking the bowl clean so I really do see this as some sort of ice cream victory! Go forth my fellow Paleo friends and chow down on some of this gluten-free, grain-free and refined sugar free deliciousness!!!
Yields: 600 ml
Cooking Time: 20 minutes
Preparation Time: 2-6 hours
Ingredients:
400ml coconut milk
250ml coconut cream
120g coconut sugar
50g cacao butter
2 tbsp coffee grounds
1 vanilla pod
3 egg yolks
1 tbsp bitter almond extract
Method:
- If using an ice-cream maker then ensure that you freeze the bowl overnight or to the manufacturer’s specifications. If you’re not then skip to the next step right away.
- In a medium sized heavy-bottomed pan add your coconut milk, coconut cream, cacao butter, coffee grounds and add half of your coconut sugar (60g) and set the remaining sugar to one side to use later on.
- Slice the vanilla pod lengthways and carefully scrape out all of the seeds into the coconut milk mixture, being sure to add the empty pods too for extra flavour. Place the pan onto a low heat being sure to stir it frequently until it slightly starts to bubble on the surface. Do not let it boil! Remove the pan from the heat and leave to cool for a good 30 minutes to 1 hour.
- In a medium sized mixing bowl add your egg yolks, almond extract and remaining coconut sugar (60g) and beat with your electric hand mixer until the mixture becomes pale and thick, it must be thick enough for fairly wide sized ‘ribbons’ to fall off of the whisks of your mixer.
- Next remove the empty vanilla pods from your pan giving them a little squeeze to eke out any remaining flavour that they may contain. Scoop 1 cup of your coconut milk mixture and pour it into your egg mixture, give it a good mix with your hand mixer and then set to one side.
- Return your pan to the heat and heat your coconut milk mixture, stirring frequently, until it comes to the boil. Remove from the heat and carefully beat in your egg mixture.
- Return the pan to a low heat and stirring frequently with a wooden spoon heat the mixture until it begins to form little bubbles on the surface. The custard should be thick enough to cover the back of your spoon, this will take no more than 10 minutes. Remove from the heat immediately. Do not bring the mixture to a simmer or a boil otherwise you will risk curdling your custard.
- Pour your custard mixture back into your original mixing bowl that you used for your eggs or a suitable sized container and place it straight into the freezer for about 15 minutes to cool sufficiently. Be sure to give it a little stir every now and then to prevent a skin from forming on the top of the custard.
- Now, what you do next will depend upon what method of ‘churning’ you are going to follow, if using an ice cream mixer place your custard into an airtight container in the fridge for a couple of hours before pouring into your mixer and churning until the mixer stops, this can take anywhere between 15-30 minutes depending upon your mixer. Transfer the mixture into a suitable airtight container, cover with cling film before putting on your lid (to prevent ice crystals from forming) and place the container into your freezer for 1 hour. If churning by hand keep your custard ideally in your mixing bowl, cover in cling film and place in your freezer for 4 hours. Make sure that every 45 minutes you remove from the freezer and use your electric hand mixer to churn the ice cream. Once the 4 hours are up remove the ice cream and place through a food processor to get it extra smooth, if you don’t have a food processor don’t worry it isn’t necessary. Once you have done this pour into a suitable sized airtight container, cover with cling film and place the lid on top. Return to the freezer for 1 hour.
- To serve leave your ice cream out to thaw for 10 minutes before running your serving spoon or scoop under a hot tap! Eat to your heart’s content!



6 Comments
Vanessa @ Plaid and Paleo
13th April 2015 at 3:44 pmCoffee + almond = love!! This sounds amazing!
greensofthestoneage
21st April 2015 at 10:32 amThank you Vanessa
stacey
14th April 2015 at 5:17 pmOh wow, so much yummy goodness!
greensofthestoneage
21st April 2015 at 10:31 amThank you Stacey I need to make more of this soon!
Dairy Free Low Carb Ice Cream Recipes - Vegan Ice Cream
4th June 2015 at 8:36 pm[…] Almond Coffee Ice Cream from Greens of the Stone Age […]
Ice Cream Round Up - Plated with Style
7th June 2015 at 3:19 pm[…] Almond Coffee […]