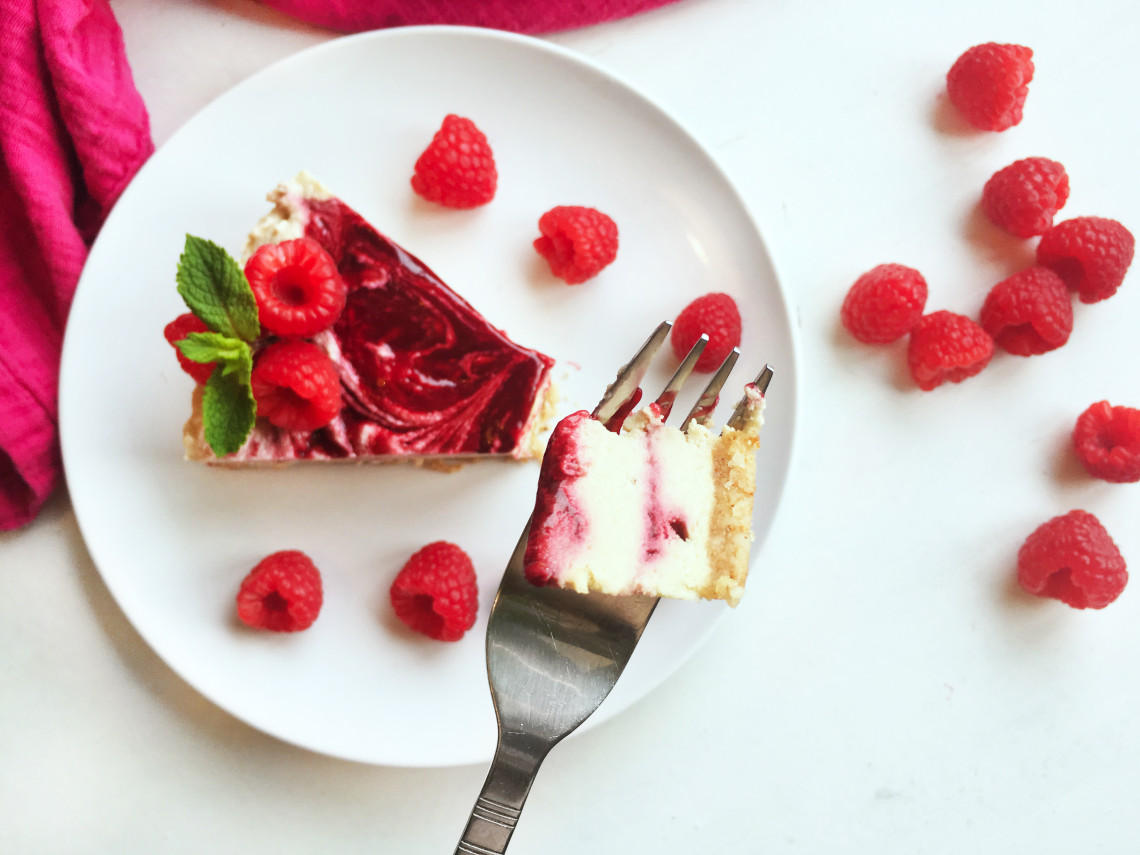
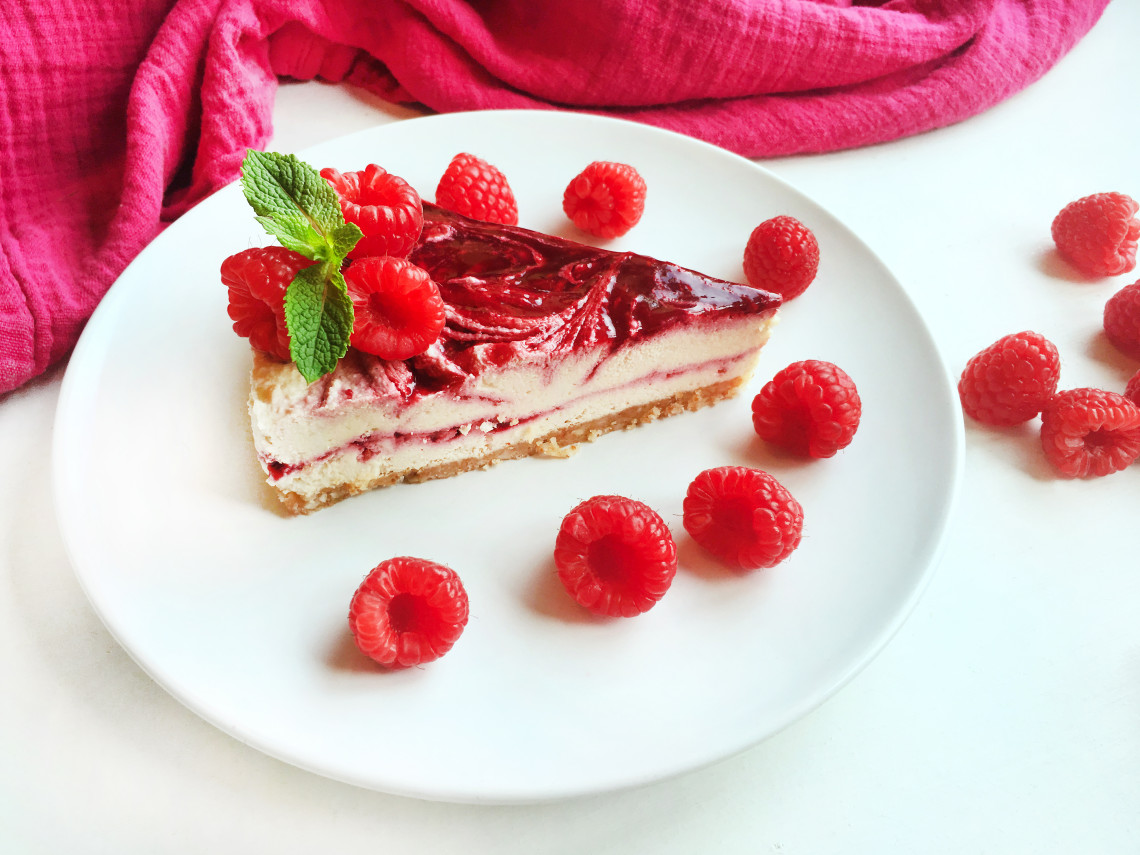
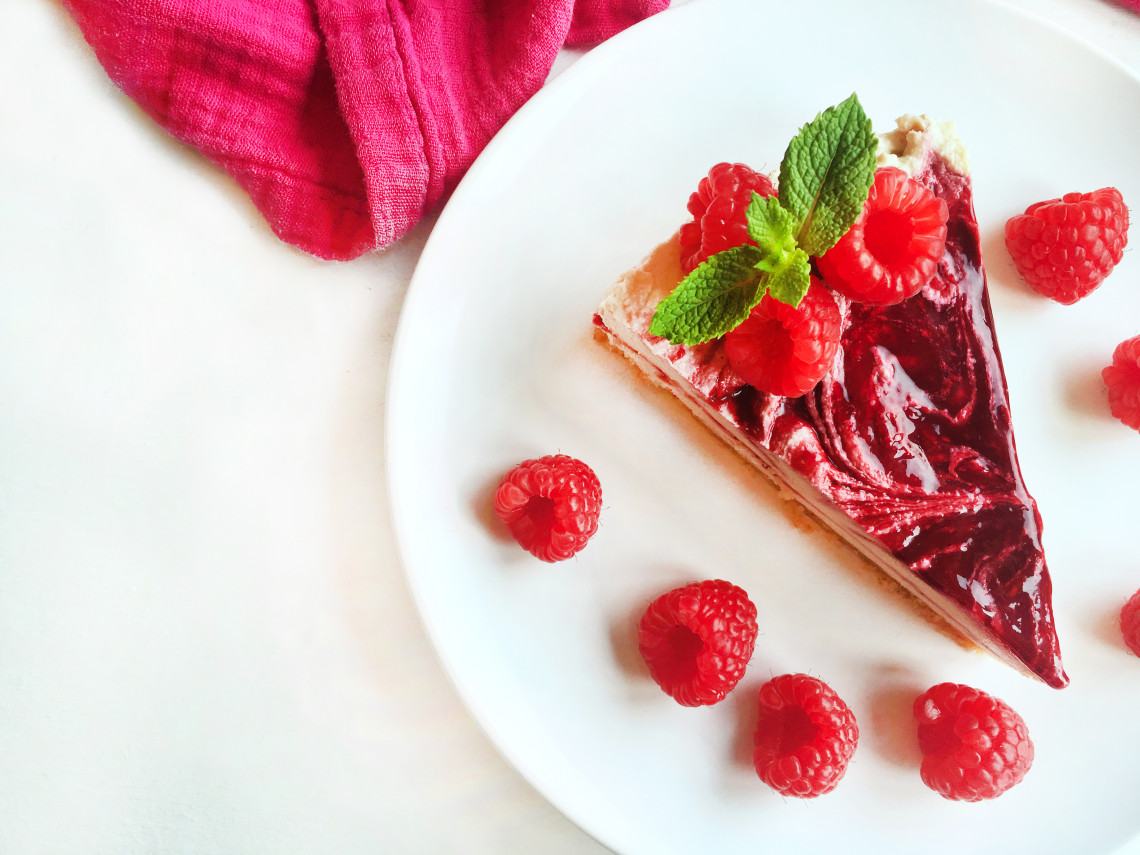
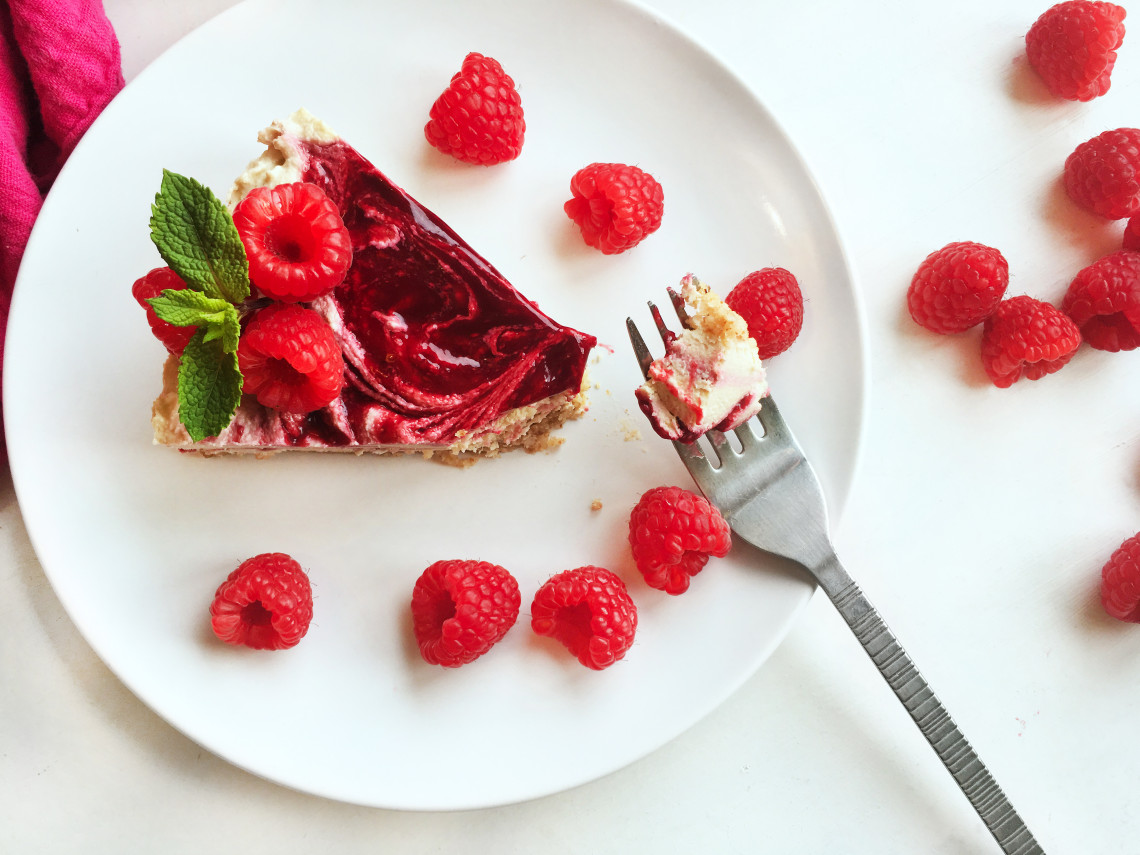
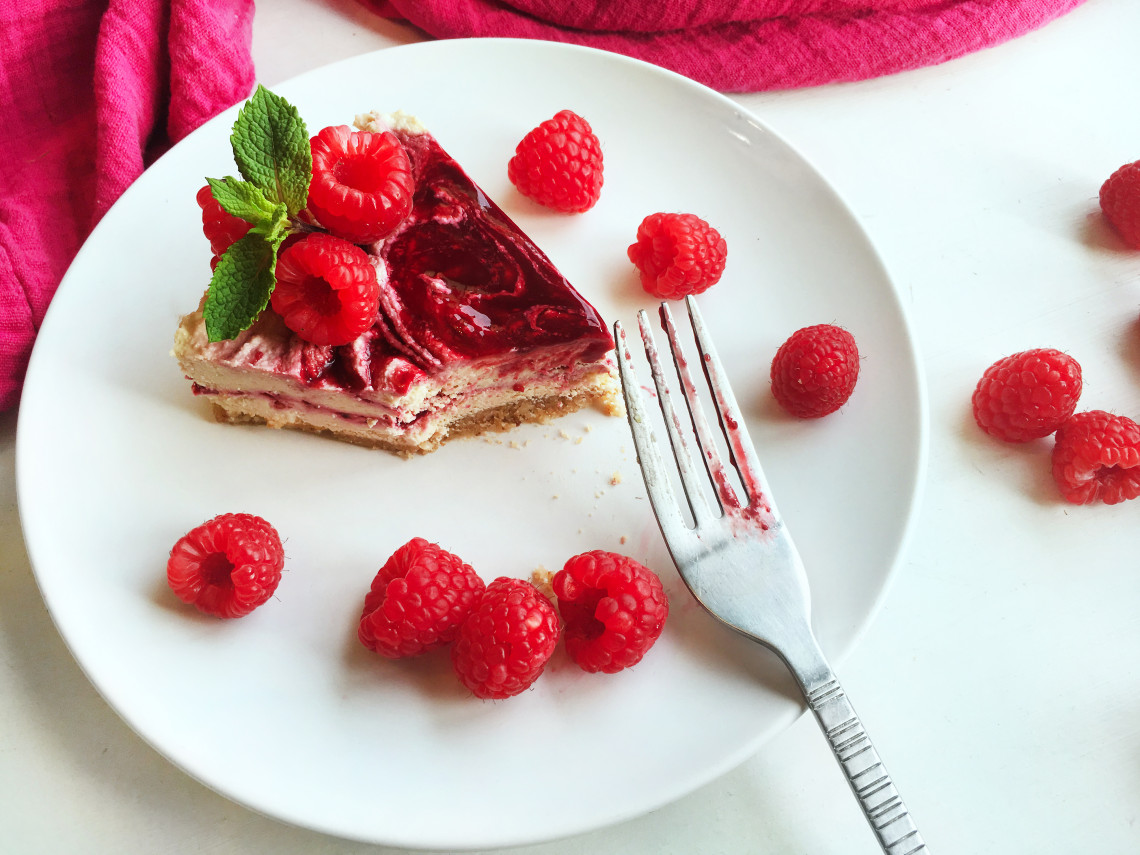
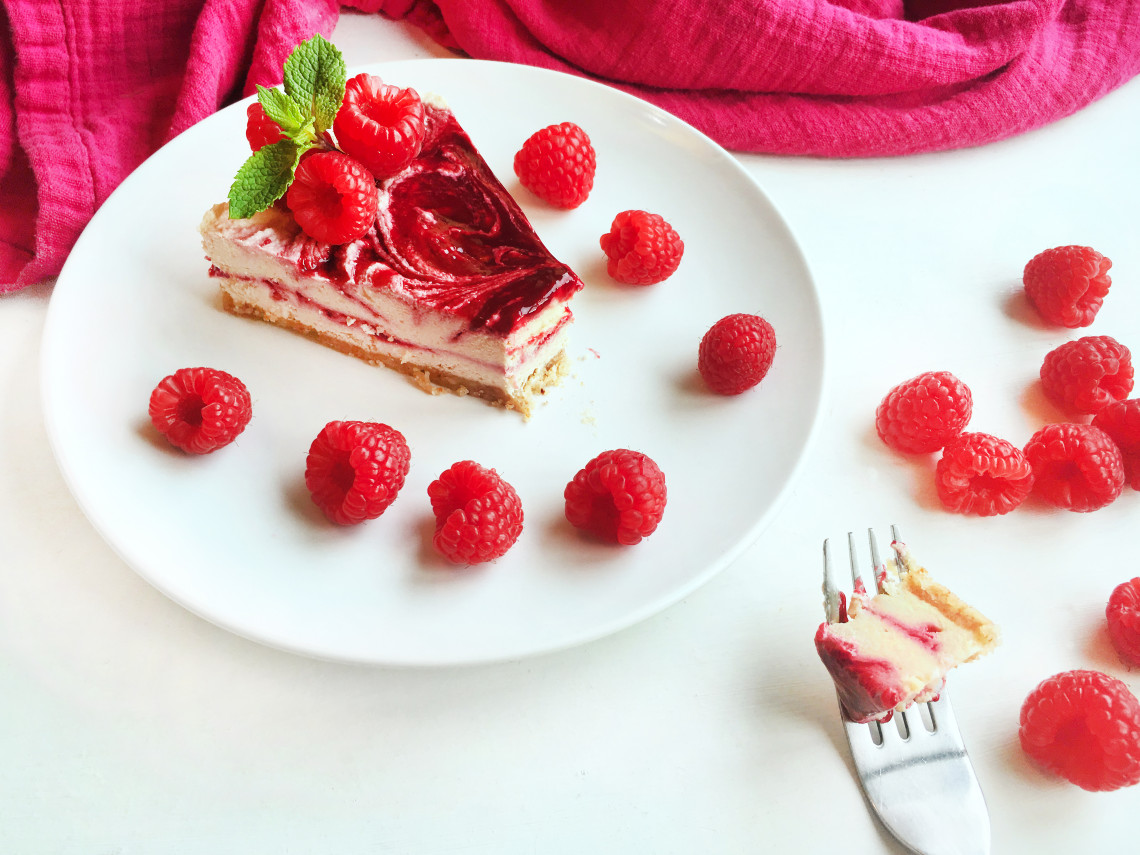
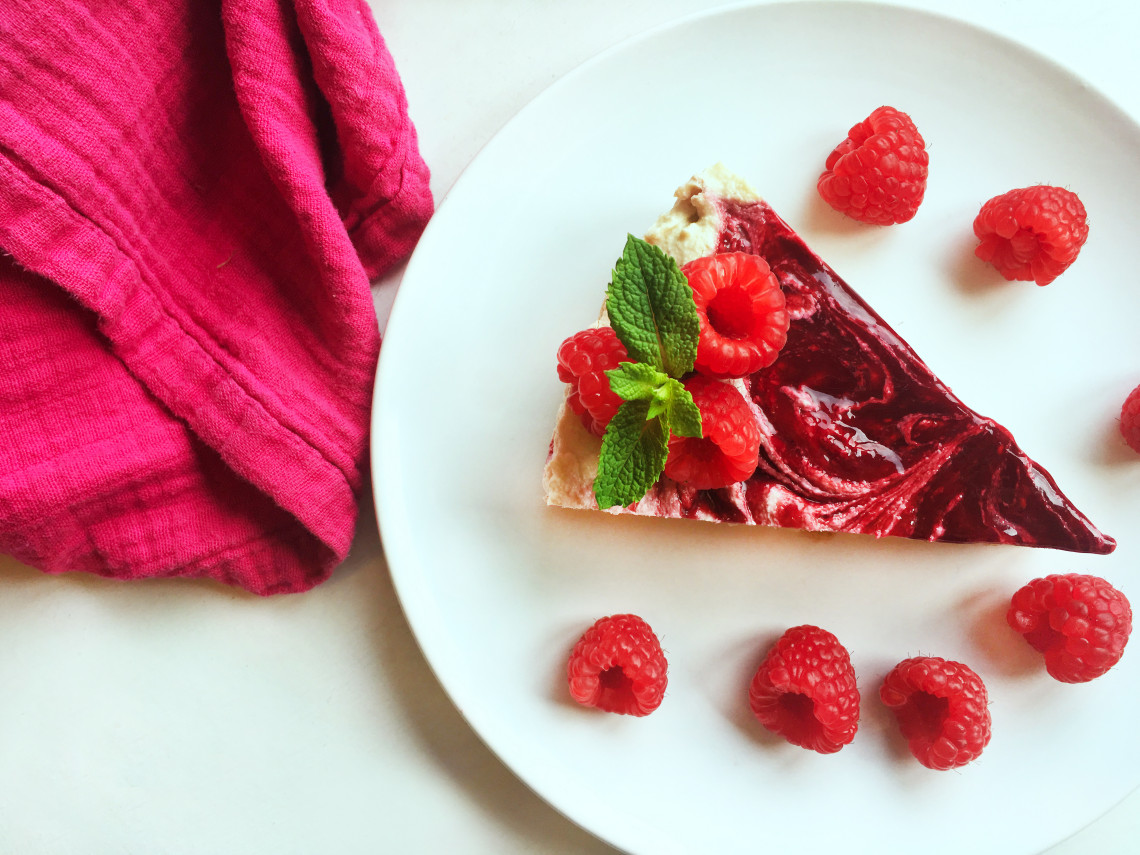
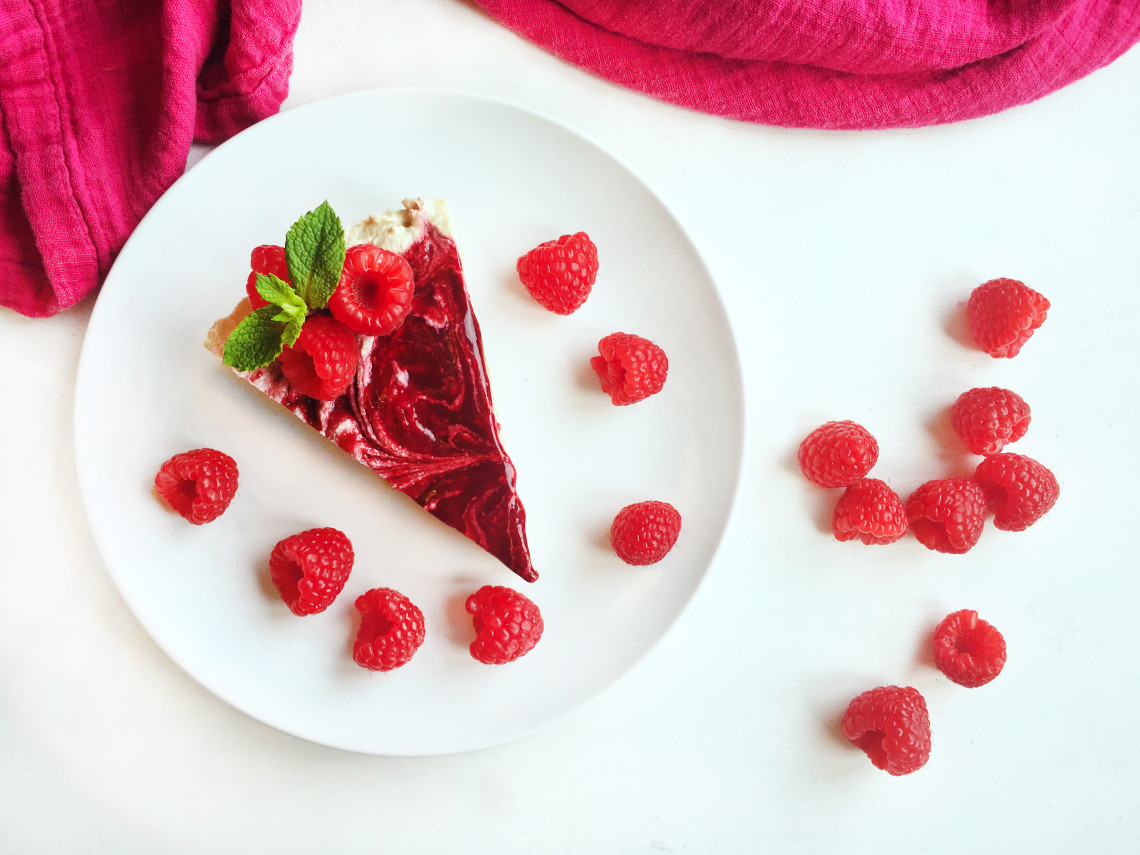
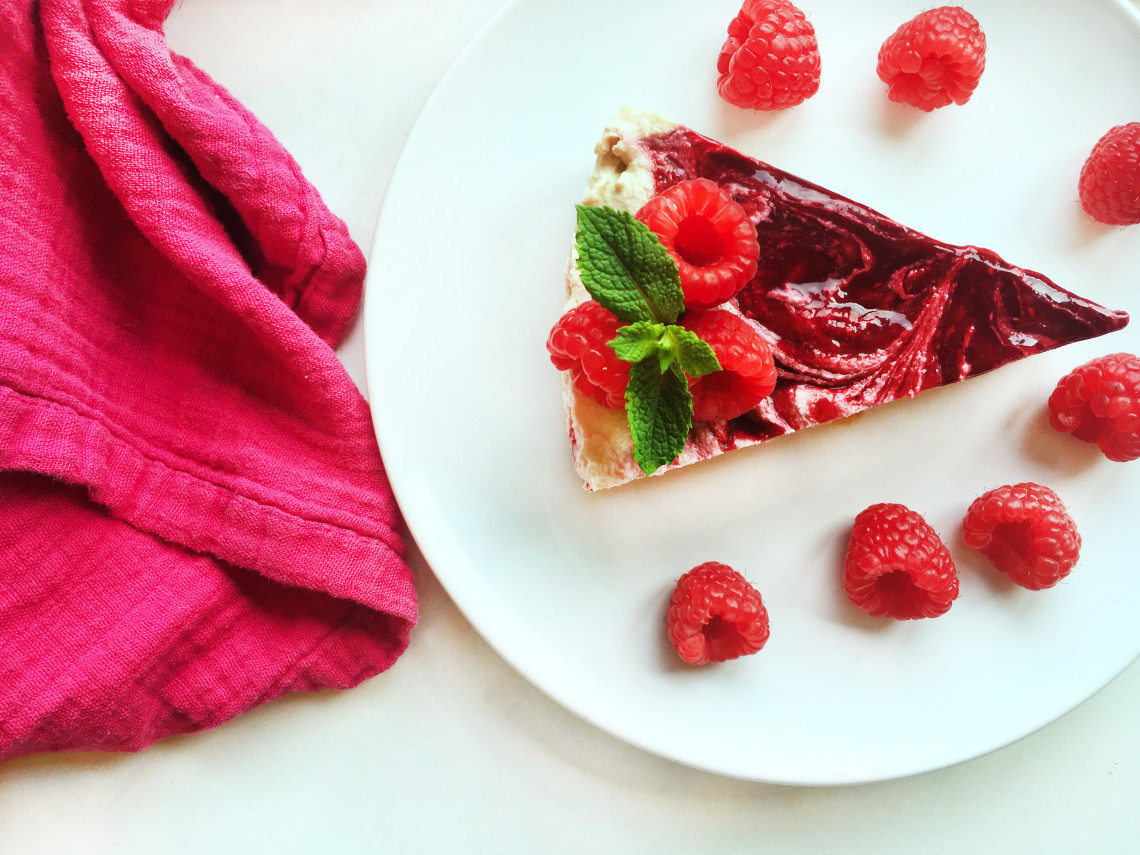
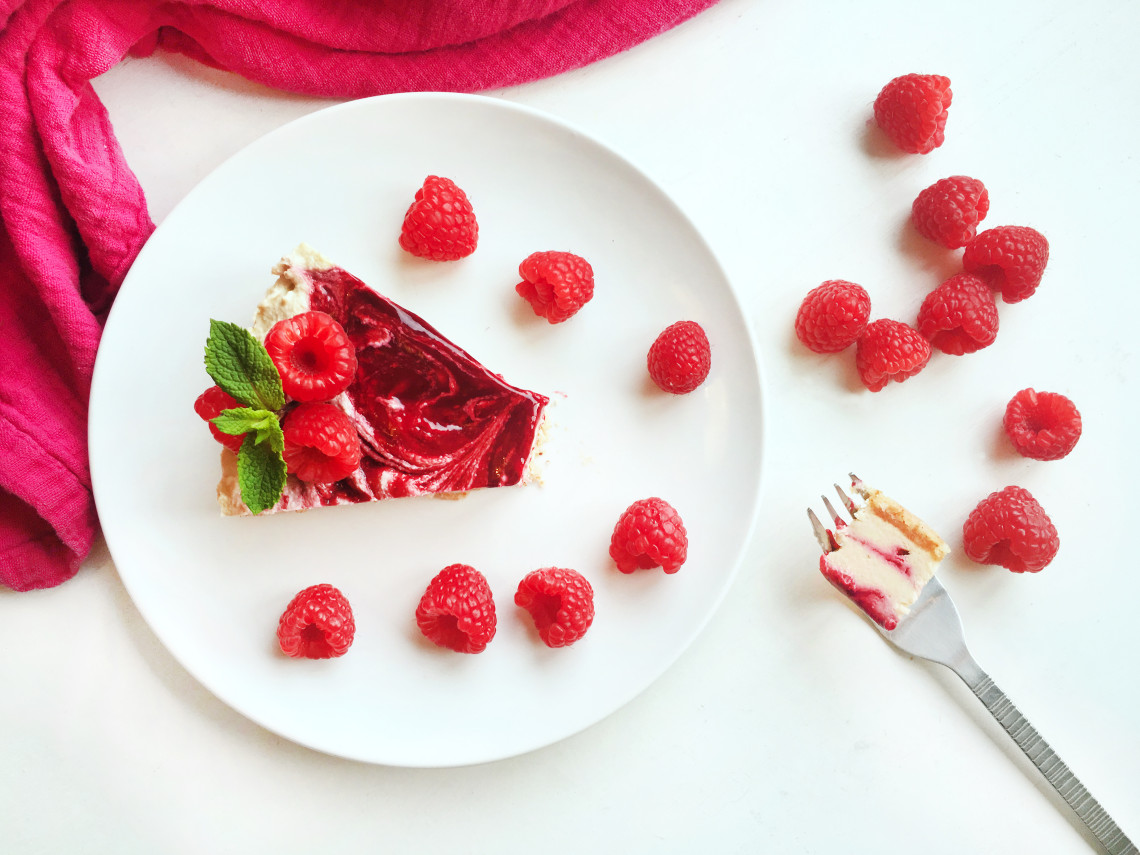
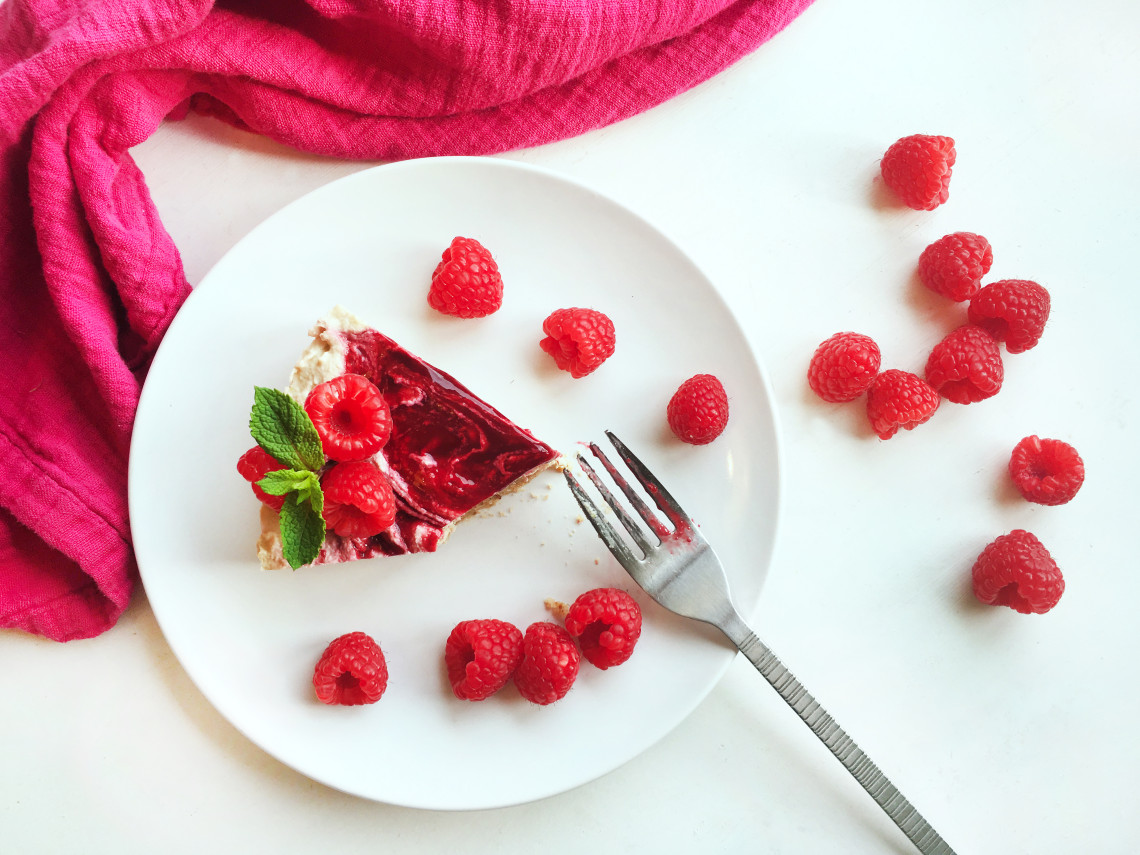
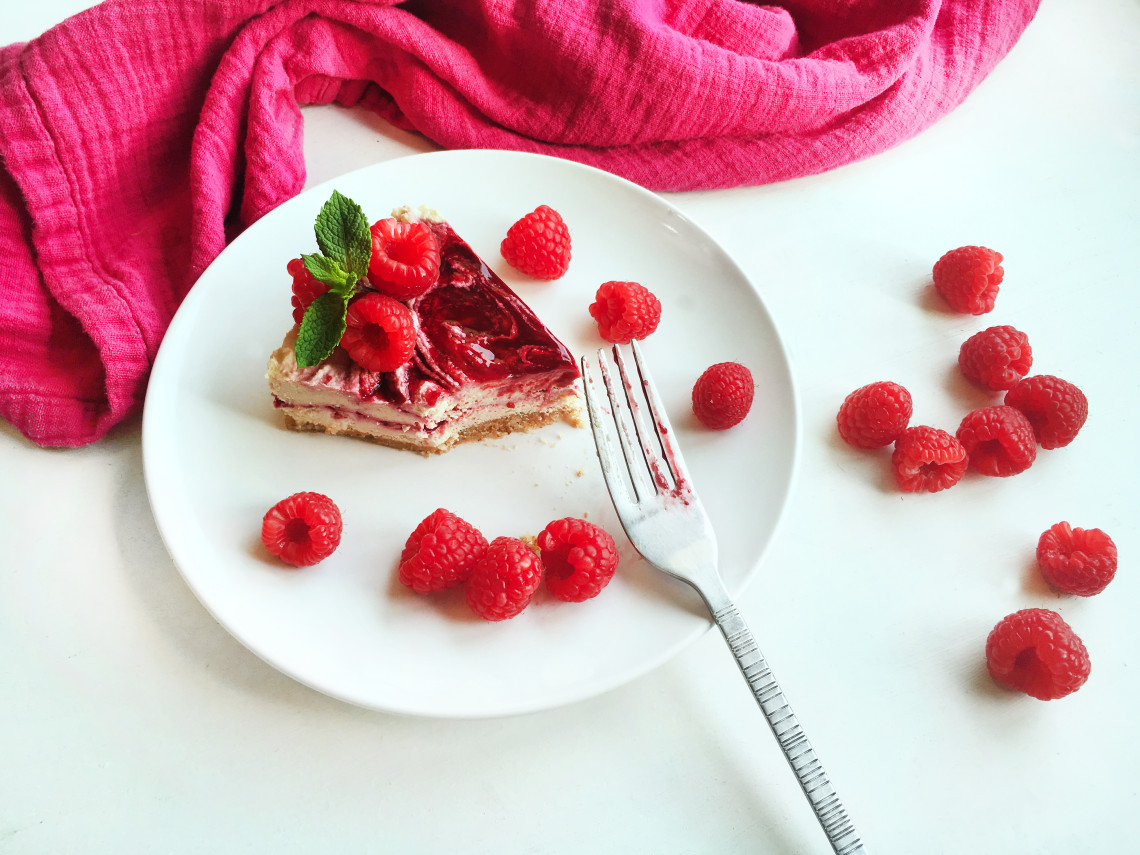
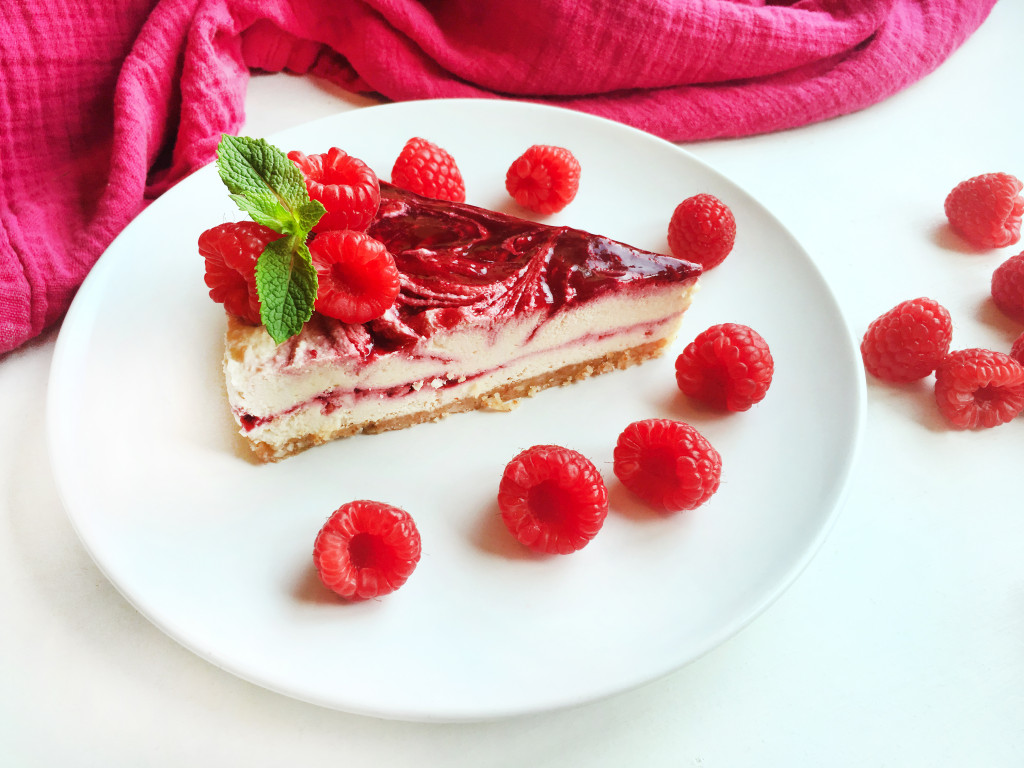
So, I recently decided that this good old recipe that I posted in October 2014 needed to make a comeback. So, naturally I rephotographed it, and re-ate it – I mean how could anyone not, just so that you could all see how glorious it really is. Please feel free to scroll across the photos and lick the screen (I’d so do it).
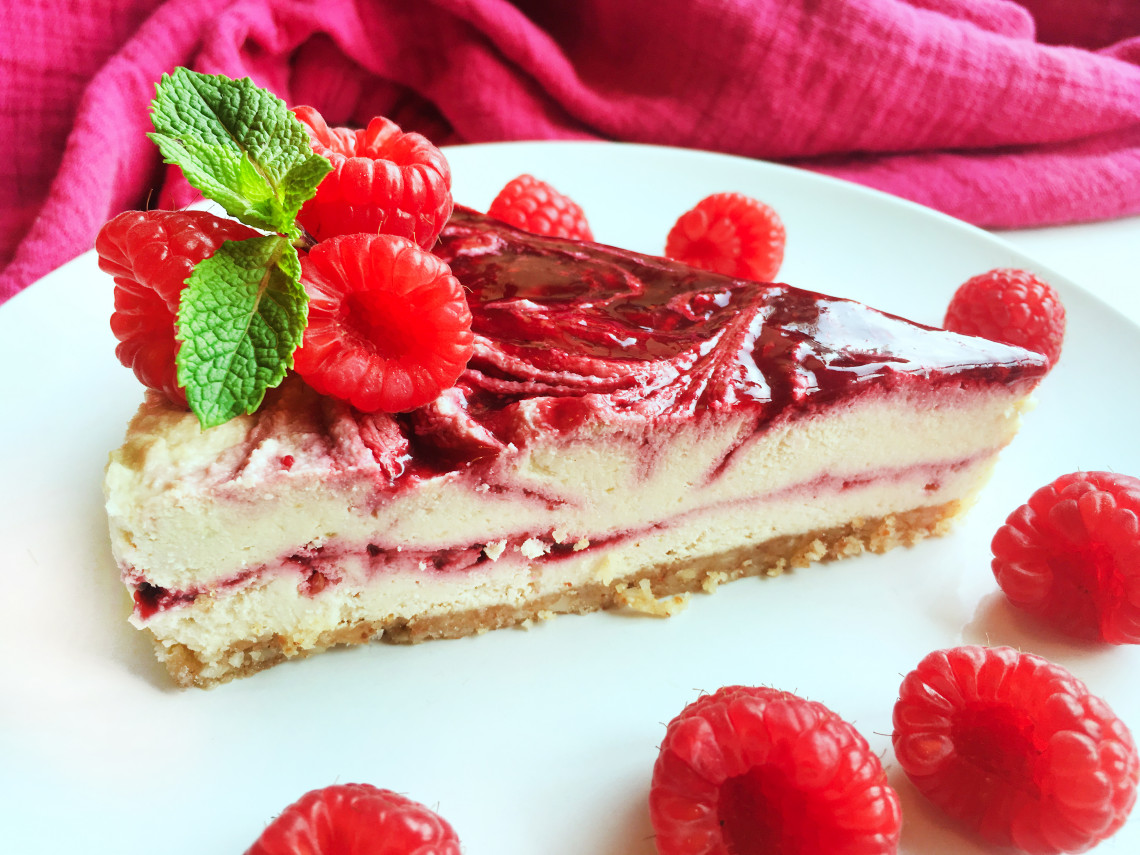
This White Chocolate & Raspberry Cheesecake is a decadent, rich, raw and indulgent vegan cheesecake that will take your taste buds to heaven! A lower carb and healthier alternative to regular cheesecake.
It’s safe to say that after almost 2 years this recipe still tastes fantastic and I wouldn’t want to make any changes to it whatsoever. The only difference is that now I don’t really eat sugar so I have provided some Paleo friendly sugar alternatives.
This cheesecake was originally dedicated to my lovely friend Jade who made the suggestion when I asked what people would like making for Chocolate Week. Chocolate Week is always incredibly dangerous for my midsection but thankfully as far cheesecakes go this is pretty low carb!
I know what you are all wondering… what does this cheesecake like? Well my lovely friends… It is actually, sort of… PERFECT!
I very rarely praise myself but I actually can’t fault this in any way whatsoever; it tastes like cheesecake, the texture is the same as cheesecake, and the base is actually like a real biscuity base. I am utterly blown away. What makes this even more special is that it is vegan too, and would be raw if it weren’t for the raspberry filling.
Enough of me rattling on about how wonderful it is, you must try it for yourselves!
- 100g macadamia nuts
- ½ cup (roughly 50g) almond flour/ground almonds
- 1 tsp vanilla essence
- 2 tbsp coconut sugar/2 tbsp xylitol granules
- 2 tbsp coconut oil
- ½ tsp fine Himalayan pink salt (if coarse grind)
- 1 tbsp almond butter
- 1 tbsp coconut flour
- 1 tbsp maple syrup/1/2 tsp NuStevia Simple Syrup
- ½ cup coconut oil
- 50g cacao butter
- ⅓ cup maple syrup/2 tbsp (30ml) NuStevia Simple Syrup
- ¼ cup coconut sugar/¼ cup xylitol
- 250g/2 cups cashews (soaked overnight or min. 4 hours)
- 1 tbsp vanilla essence
- ¼ tsp fine Himalayan pink salt (if coarse grind)
- Juice 1.5 lemons
- 1 peeled courgette (cubed)
- 1.5 cups frozen raspberries
- ¼ cup coconut sugar/2 tbsp (30ml) NuStevia Simple Syrup/¼ cup xylitol granules
- 1 tbsp water
- ½ tbsp tapioca flour
- Squeeze of lemon juice
- Handful of fresh raspberries for decoration (optional)
- For the base, combine all of the ingredients and process until a sandy texture (have a nibble, if it reminds you of biscuit crimbs it's done!).
- Line a 9" springform or loose base tin. Pour in the base mixture and 'knuckle' it in until evenly distributed. Place in the freezer until later.
- For the white chocolate filling place the coconut oil, cacao butter, maple syrup and coconut sugar over a bain-marie until fully melted. This could take around 15 minutes. You could grate the cacao butter but I think this is equally as time consuming.
- Meanwhile, place the rest of the ingredients into the food processor, except for the courgette, and process until smooth.
- Next get started on your raspberry filling. Place the frozen raspberries, water and coconut sugar into a medium sized pan and cook on a low heat until simmering. Make sure to squash down the berries as much as possible. This will take around 10 minutes max.
- Remove your 'white chocolate' mix from the bain-marie and combine with the rest of the white chocolate filling. Process until smooth.
- Remove your raspberry mix from the heat and begin to strain through a sieve into a small mixing bowl. This will take a lot of leg work to get as much of the fruit through as possible. Stop straining when you are left with pretty much just seeds!
- Combine the lemon juice and tapioca flour and whisk thoroughly.
- Return the raspberry mix to the heat or place the bowl into the microwave until the mixture is bubbling. Be sure to whisk frequently. Once the mix has thickened to a thick and slightly 'gummy' sauce set aside.
- To your white chocolate filling add in your peeled and cubed courgette. Blend until smooth and fluffy.
- Remove your base from the freezer and pour in half of your white chocolate filling, spreading evenly with a spatula.
- Pour in one third of your raspberry filling and using a small spatula dip in and swirl around the filling. This will give you your marbling effect!
- Pour in the last half of your white chocolate filling and smooth until evenly distributed.
- Add the remaining two thirds of the raspberry filling. Using a small spatula or knife, dip in and draw downward parallel lines and then parallel lines across until you reach your desired level of marbling. Feel free to just swirl it around. Make it your own!!!
- Place your cheesecake into the freezer until set.
- Slice and serve!!! Yummy yummy scrummy in your tummy! (Not mine i've eaten mine already!)


2 Comments
Jessica Beacom
23rd August 2016 at 2:35 pmThere are no words for how much I LOVE you and this cheesecake recipe right now! Seriously, not having had cheesecake in nearly 10 years has been such a bummer – nothing can compare to that glorious texture – until now it seems! Thanks for resurrecting this recipe – I can wait to make it this weekend!!
greensofthestoneage
1st September 2016 at 12:11 amAwww thank you so much Jessica! Did you make it? If so I’d love to hear what you thought. Thanks for stopping by and sharing some love <3