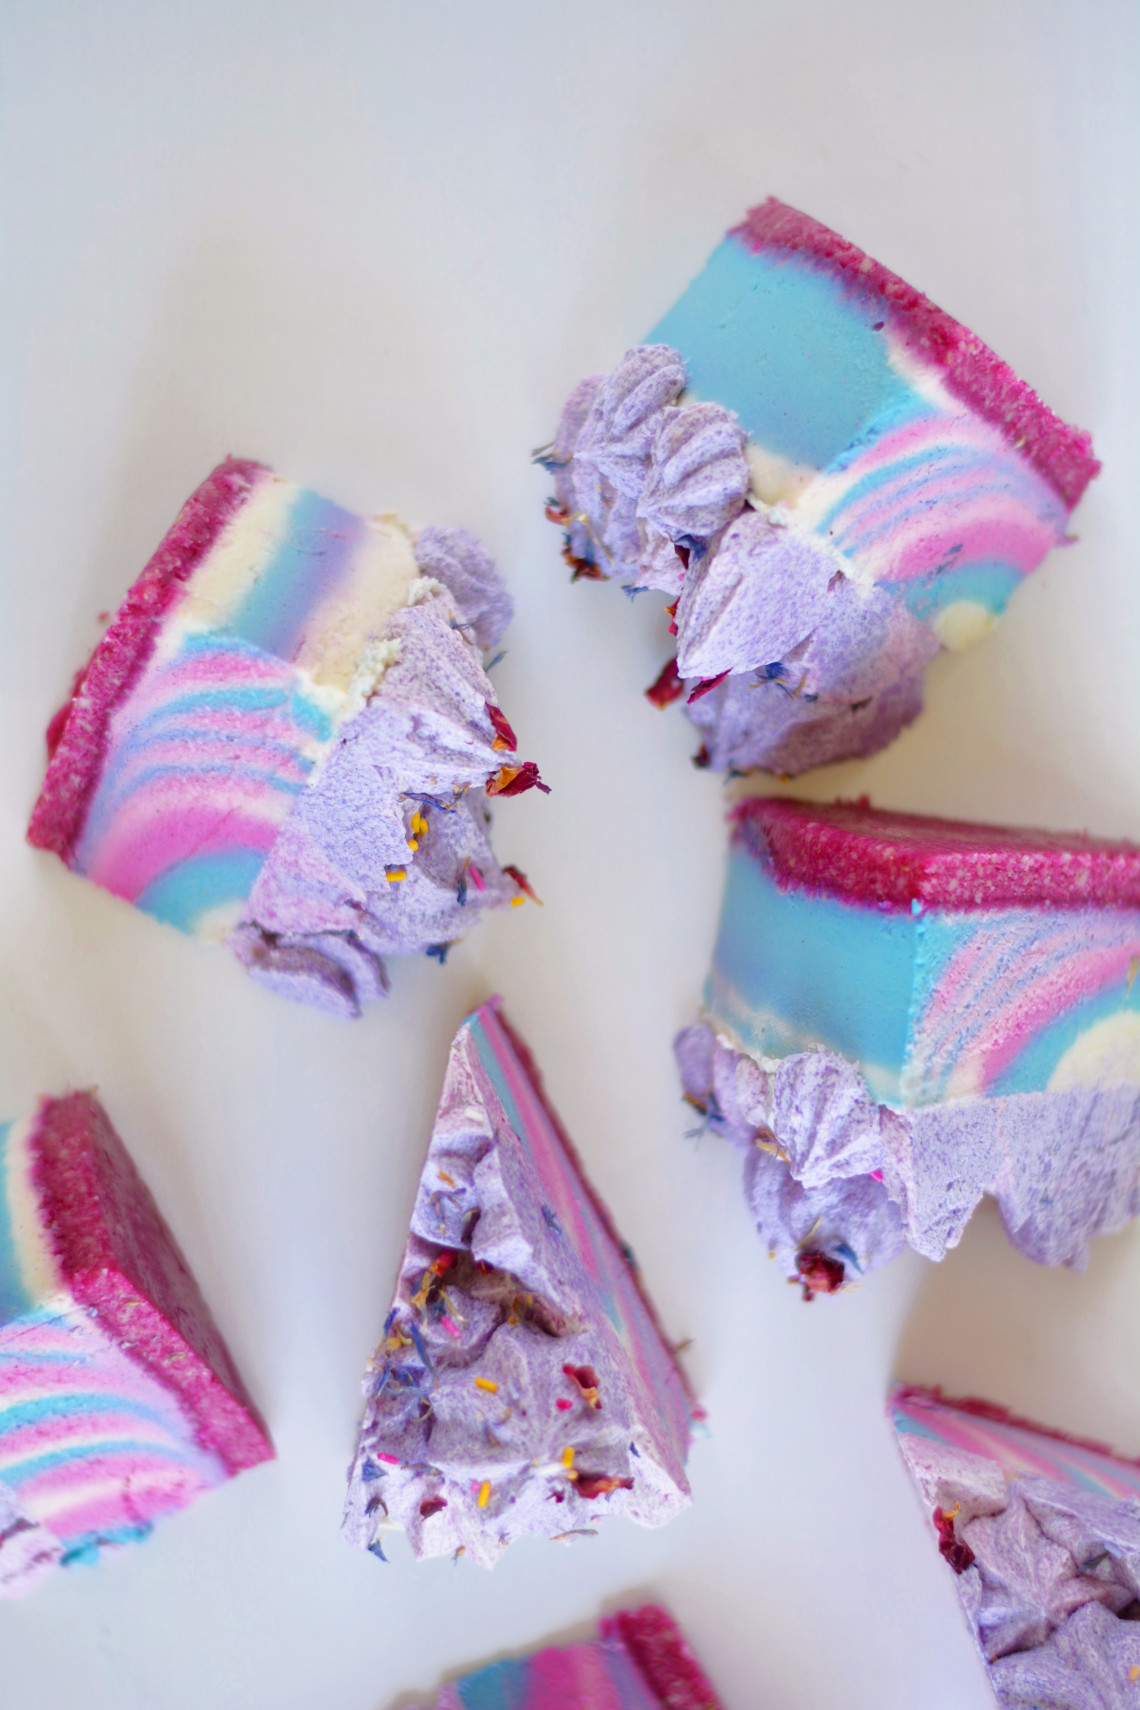
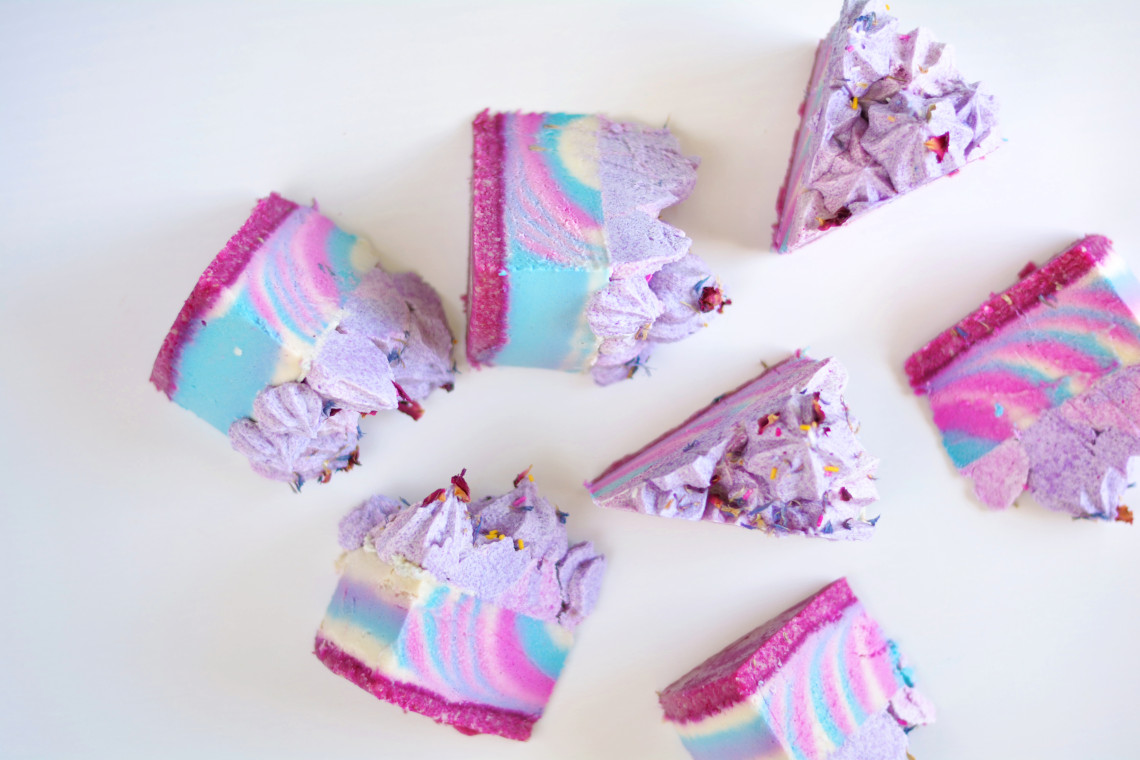
Sometimes I amaze myself with the insanity of my own creations. The other day I was thinking how much I’d like to make a fermented, probiotic-rich raw cheesecake and then I started to realise I hadn’t done anything other than basic marbling so thought a zebra cheesecake would be even more fun. Then, of course, I always like to put a colourful spin on my work and so the Fermented Unicorn Zebra Cheesecake was born. I wanted to make the ultimate party cake that even little kids would enjoy and I feel like it totally worked. My kids LOVED this cake. Like A LOT.
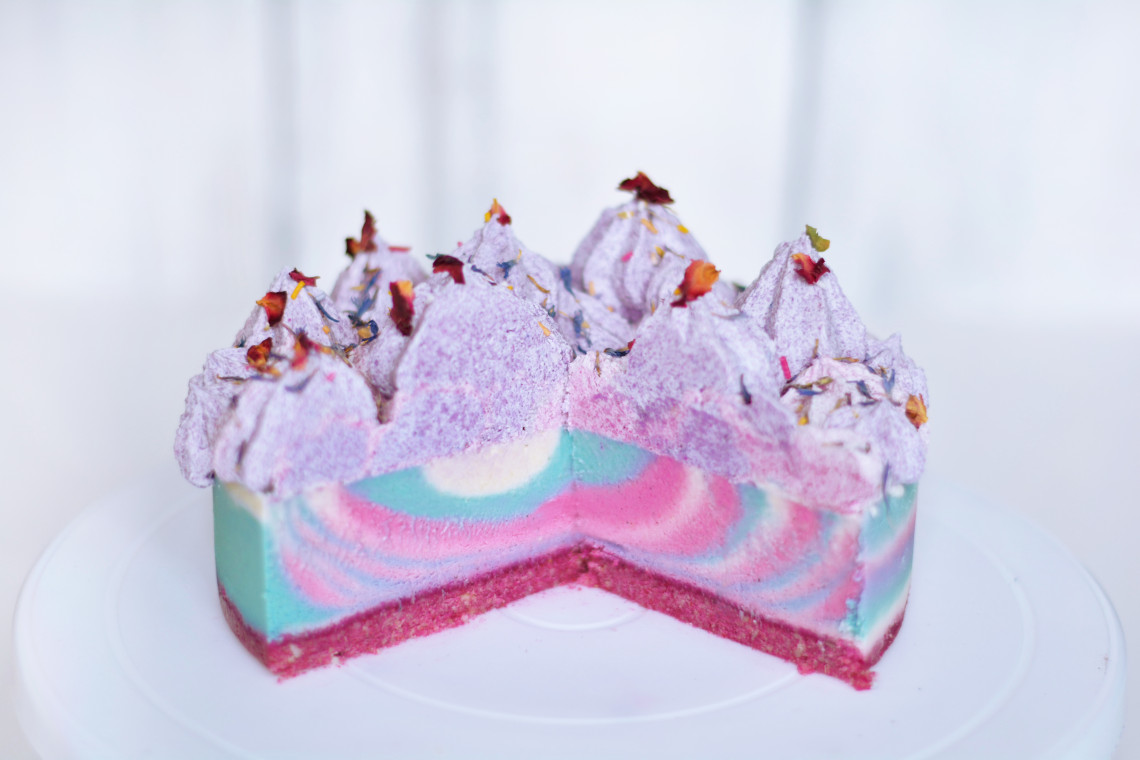
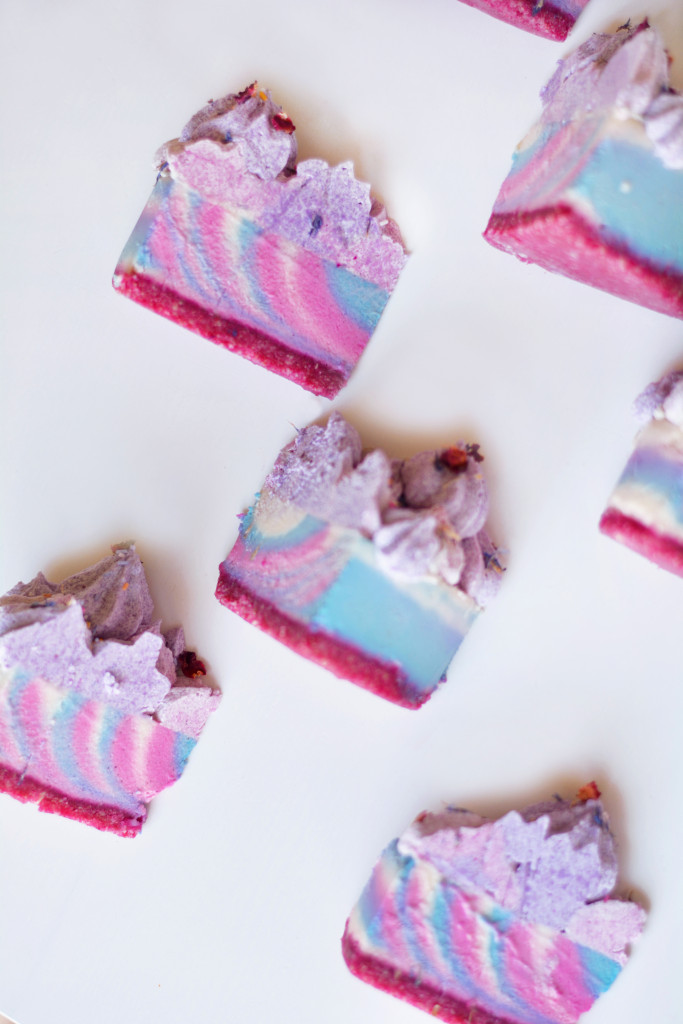
This Fermented Unicorn Zebra Cheesecake is the ultimate raw vegan party treat! A buttery strawberry pitaya base, multi-flavoured probiotic rich filling, and a dreamy blueberry buttercream.
The buttery biscuit base to this cake is strawberry and pitaya (dragonfruit) flavoured, the fillings are all different flavours (lemon, blueberry, and strawberry) and are flavoured by my favourite natural and GMO-free flavourings – Medicine Flower Extract. They’re raw and are processed by cold-pressing and so are pretty darn pricey. But they are so worth it to up your raw cake, hot chocolate, and raw chocolate game – even if you only pull them out at special occasions! You don’t have to make the fillings all different flavours and just keeping it lemon with some lemon extract works fine, to make it even nice you could blend in the zest of 1 lemon. The colourings are all natural and brought to you by the superfood brand Raw Nice who are like the total tits if you don’t mind me saying! They sell blue spirulina, Dunaliella salina powder (which I used in my Orange Raw Vegan Mars Bars), pitaya, butterfly pea (purple), and activated bamboo charcoal for a stunning jet black. Oh, and they also stock coconut bowls and mini cutters so you can basically have the most stunning, Instaworthy smoothie bowls ever!
I decided to top the cake with raw vegan buttercream – personally, for me, this was far too sweet but my kids just bloody love the stuff. If like me, you cannot handle the sweetness, you can definitely double up the cheesecake ingredients, divide into 2, keeping one half for the fillings and the other half just chill in a bowl then colour/flavour and transfer to a piping bag. My buttercream recipe is still in progress but I’m not 100% happy with it, I’m desperate to get it perfect but everyone that has tried it has been in love. And these are people who love eating regular sugar.
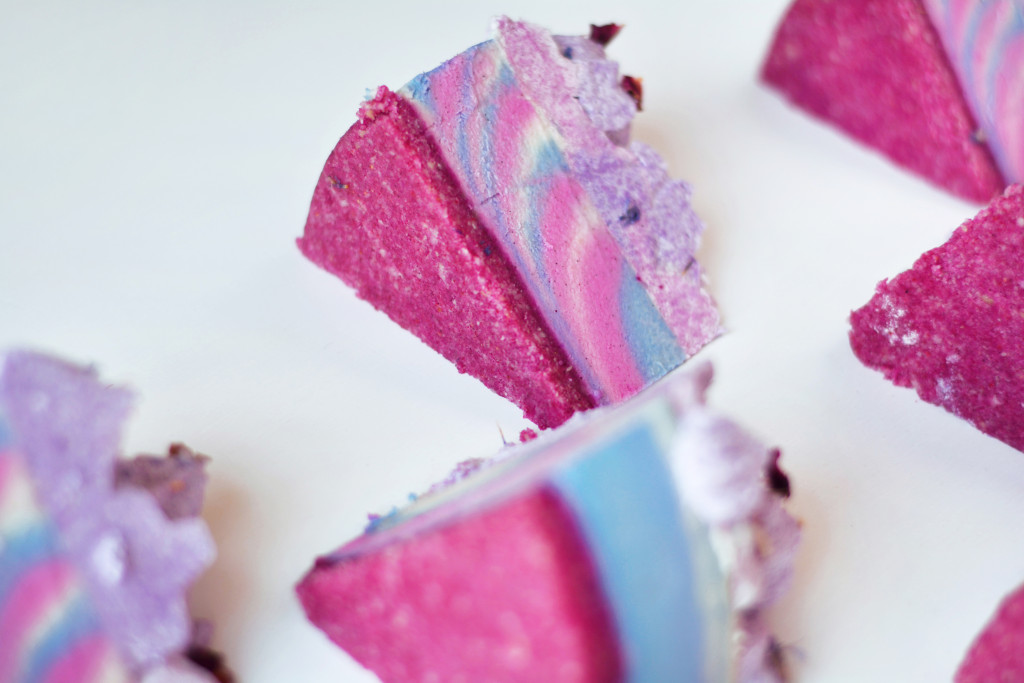
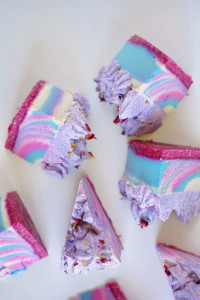
The zebra pattern technique is actually ridiculously simple but if you scroll through the photo gallery at the top you’ll see that I totally messed it up – it was pretty off centre and the last two colours I put in in the wrong order! I was pretty knackered when I made this and had Anya sticking her hands into all of the bowls, so I was just a bit all over the place (to say the least) but I still love the results. To get the zebra effect you simply scoop 1 colour into the middle of the cheesecake base, then scoop a different colour into the middle of that one (with a clean cup/scoop!), and again scoop the next colour into the middle of the last one, then just repeat until you have no mixture left. The mixture will spread out as you add your alternating scoops and will, therefore, widen out, forming concentric circles. When you slice into your cake that’s what makes the zebra stripes. The smaller the scoop size then the more intricate the stripes will be, if you use a larger scoop you’ll just get some big fat stripes. Simples!
So, I guess I should just stop waffling on and get on with sharing the recipe for this delicious cheesecake. But, just before I go please let me know in the comments below what cheesecake or raw chocolate creation you’d like me to make next. I’m thinking of making a galaxy cheesecake or full-blown unicorn cheesecake with a horn and ears?! I dunno, answers on a postcard…
Looking for something else colourful and delicious to make? Then why not try my Healthy Unicorn Frappuccino, Simpsons Raw Vegan Donuts, or Blue Mermaid Smoothie Bowl? Oh, and if you want to keep up to date with my deliciousness and awful sense of humour then why not sign up for my newsletter too whilst you’re at it?!
- 100g macadamia nuts
- ½ cup (roughly 50g) almond flour/ground almonds
- 1 tsp vanilla essence
- 2 tbsp coconut sugar/2 tbsp xylitol/raw cane sugar
- 2 tbsp coconut oil
- 2 tsp freeze dried strawberry powder
- 2 tsp Raw Nice freeze dried pitaya powder
- 1 tbsp coconut flour
- 1 tbsp light agave nectar/maple syrup/1/2 tsp NuStevia Simple Syrup
- ½ tsp fine Himalayan pink salt (if coarse grind)
- 250g/2 cups cashews (soaked overnight)
- 1 tsp probiotic powder (containing Lactobacillus acidophilus)
- 115ml cold water
- 1 batch of fermented cashew cheese (see recipe above)
- Juice 1.5 medium lemons
- ½ cup coconut oil (melted)
- 50g cacao butter (melted)
- ⅓ cup light agave nectar/maple syrup or 2 tbsp (30ml) NuStevia Simple Syrup
- ¼ cup xylitol/raw cane sugar/coconut sugar
- 1 tbsp vanilla essence
- 1 tbsp lemon extract
- 10 drops White Chocolate Medicine Flower Extract (optional)
- ¼ tsp fine Himalayan pink salt (if coarse grind)
- 200g peeled courgette (cubed)
- 1¼ tsp Raw Nice freeze-dried pitaya powder
- 5 drops Strawberry/Raspberry Medicine Flower Extract (optional)
- ½ tsp Raw Nice blue spirulina
- 5 drops Blueberry Medicine Flower Extract (optional)
- 100g cashews (soaked for 8 hours)
- 50ml water
- 1 tsp lemon or vinegar
- 70g coconut oil (melted)
- 70g cacao butter (melted)
- Pinch fine Himalayan pink salt or sea salt
- 1 tbsp freeze-dried blueberry powder
- 10 drops Blueberry Medicine Flower Extract (optional)
- 1 tsp Raw Nice freeze-dried pitaya powder
- ¼-½ tsp Raw Nice blue spirulina
- 200g xylitol (powdered)
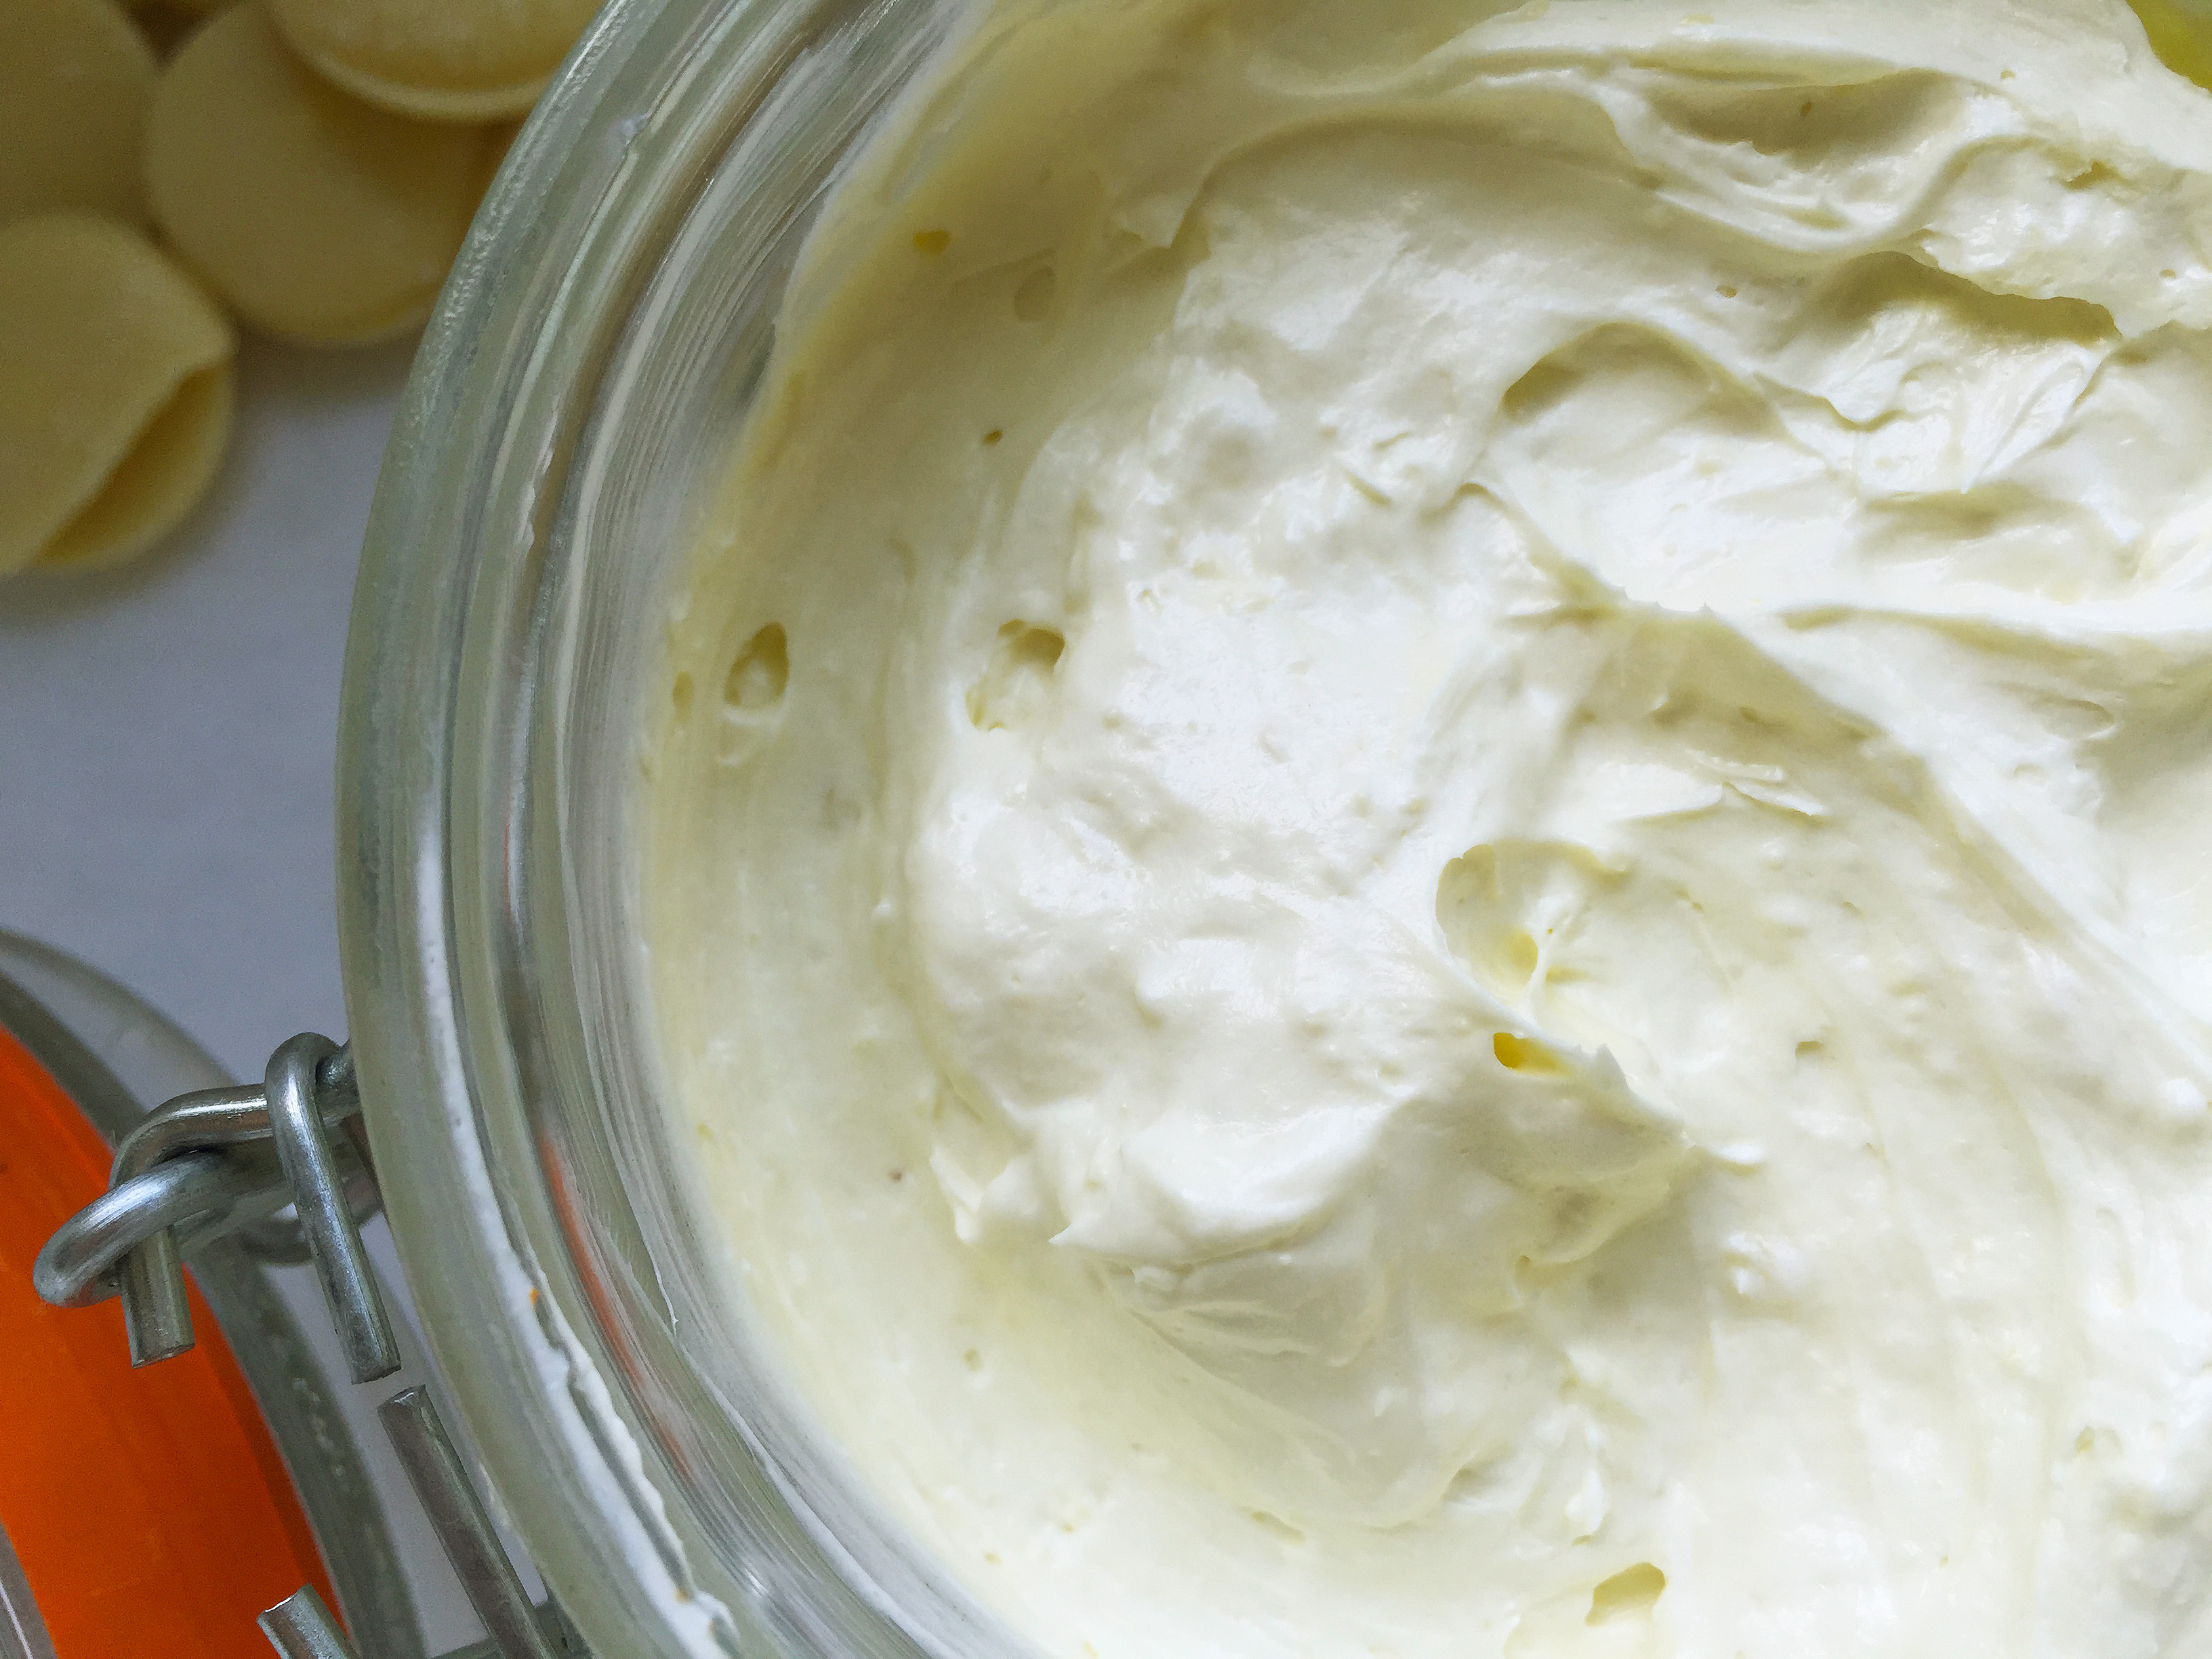
- Start by making your fermented cashew cheese the night before you make your cheesecake. Take your soaked cashews and rinse in cold water. Place into your food processor and blend until smooth. Add the probiotics and water and blend until you get a nice and thick smooth paste. Be sure to scrape down the sides periodically to combine all of the ingredients.
- Scoop out your cashew cheese and place into a clean mixing bowl, cover with cling film and press the cling film down onto the surface to prevent a rind from forming. Place into the dehydrator at 105°F (or a warm space) for 12-24 hours. You will see little air bubbles form and the mixture should smell slightly sour when ready.
- For the base, combine all of the ingredients and process until a sandy texture (if it reminds you of biscuit crumbs it's done!). Line a 9" springform or loose-based tin. Alternatively use a silicone mould like this one. Pour in the base mixture and 'knuckle' it in until evenly distributed. Place in the freezer until later.
- Add all of the ingredients for your cheesecake into the bowl of your food processor, except for the courgette, pitaya and spirulina, and process until smooth. Add your peeled and cubed courgette and process on low until fully combined. Divide the mixture equally between 3 mixing bowls. Add the pitaya to one bowl and the spirulina to the other and whisk until combined, then whisk in the flavours if using. You can also whizz it up in a blender to make things quicker!
- Remove your base from the freezer and pour in one scoop of white filling into the middle followed by one scoop of blue into the middle of the white, then one of the pink into the middle of the blue and repeat until all of the
mixture has been used up. I used a ¼ cup measure but the smaller you go the more intricate the stripes will look when completed. Place in the fridge or freezer until set. This will take about 4-6 hours. - Whilst you're waiting for your cheesecake to set start making your buttercream. Blend together all of your ingredients except for your xylitol, transfer to a bowl, cover, and place in the fridge until set - about 4-6 hours. Remove from the fridge and place into a stand mixer with a beater attachment. Beat until pale and smooth and at room temperature. Sieve your powdered xylitol and gradually add in a small amount at a time until the mixture is smooth and fluffy. Transfer to a piping bag with
nozzle of choice. - Remove your cheesecake from the springform pan or mould. Place on a cake stand or large plate and pipe on your icing. Top with any topping of choice - I used blue cornflowers and rose petals. Cut and serve!
*All cup measurements used are UK cup measurements and so 1 cup = 250ml.
** Please note that this recipe will require you to soak your cashews overnight or for at least 6-8 hours for both your cashew cheese and frosting.


2 Comments
Lauren
10th September 2019 at 5:33 pmI wonder if you can use date sugar as a sweetener, so it’s even better for the gut.
greensofthestoneage
17th September 2019 at 7:26 pmHi Lauren, of course you can use any sweetener of choice. Of course date sugar would have a very overpowering flavour and drastically alter the recipe in both taste and aesthetics. Thanks for stopping by!