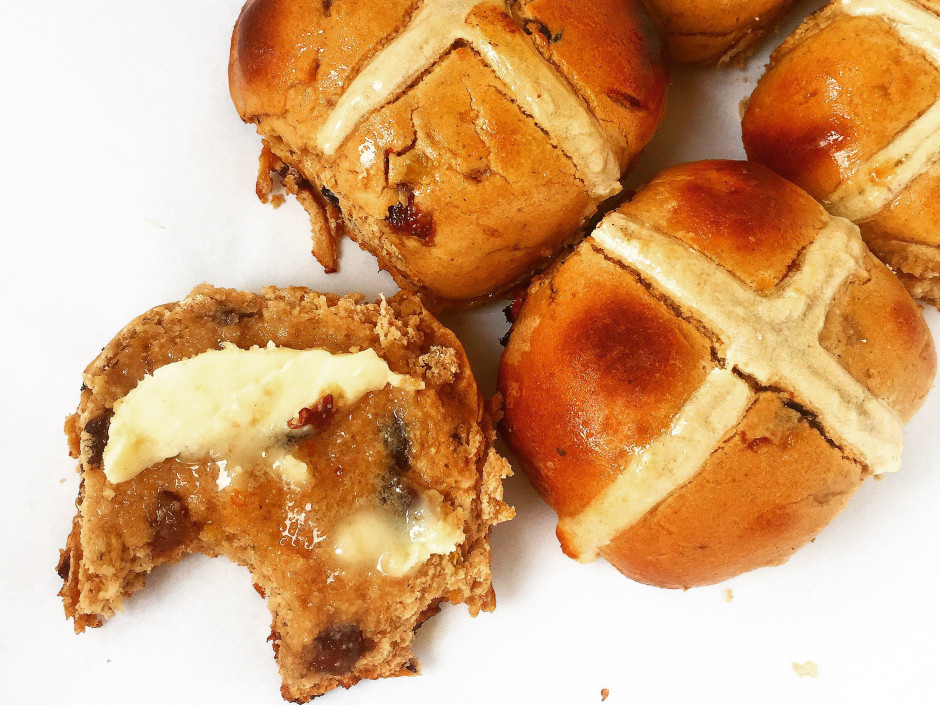
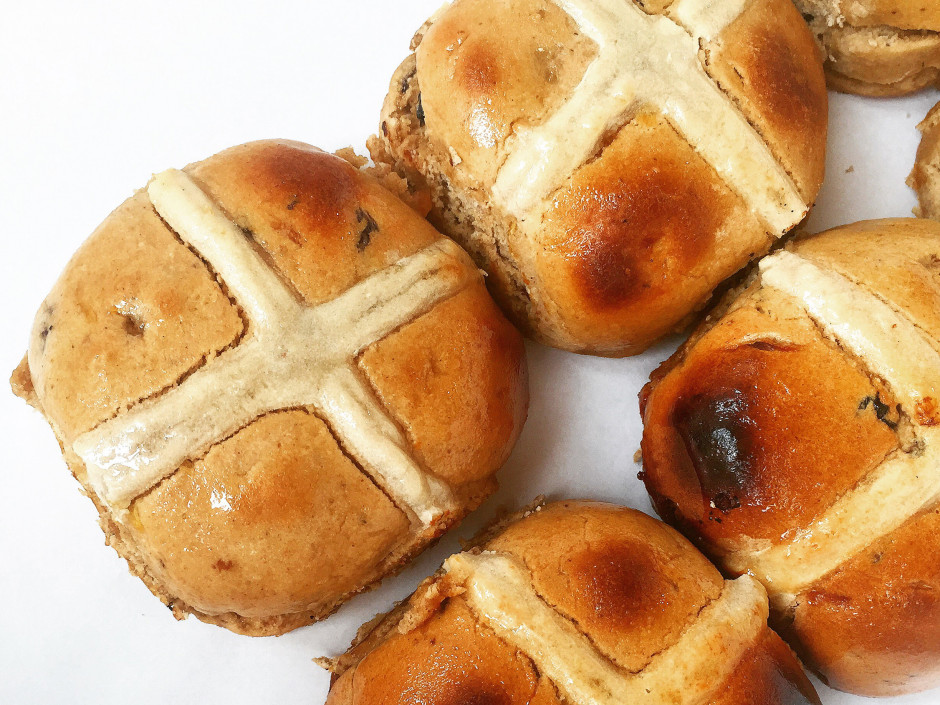
Paleo Hot Cross Buns, I bet you all thought they were absolutely impossible! Well you were wrong, although they certainly were not easy to make and I will admit to crying my eyes out like a baby due to the stickiness of this dough when I first started working on it – will teach me to try and create a recipe the day before Easter hey! But quite a few people had been asking me to do it so I just thought I would get on with it. I was going to make some hot cross pancakes but I didn’t get around to that either sadly.
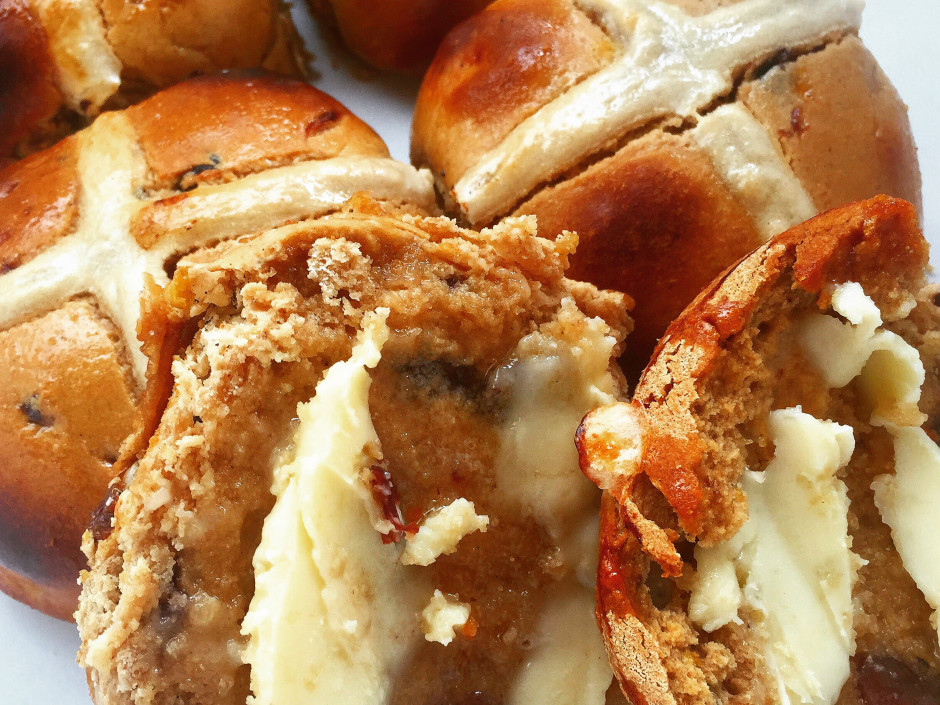
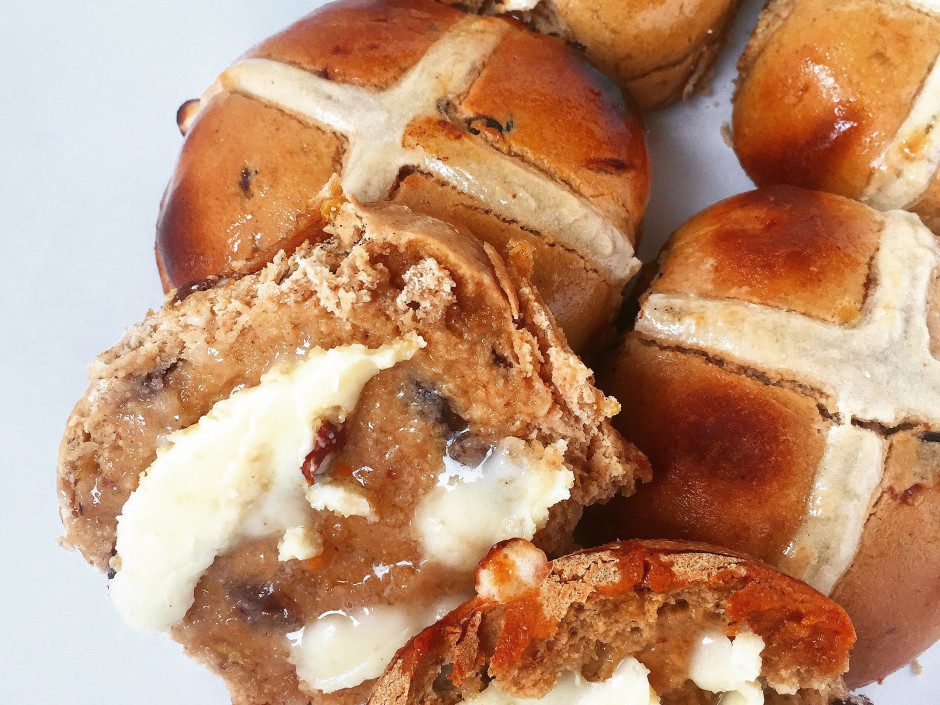
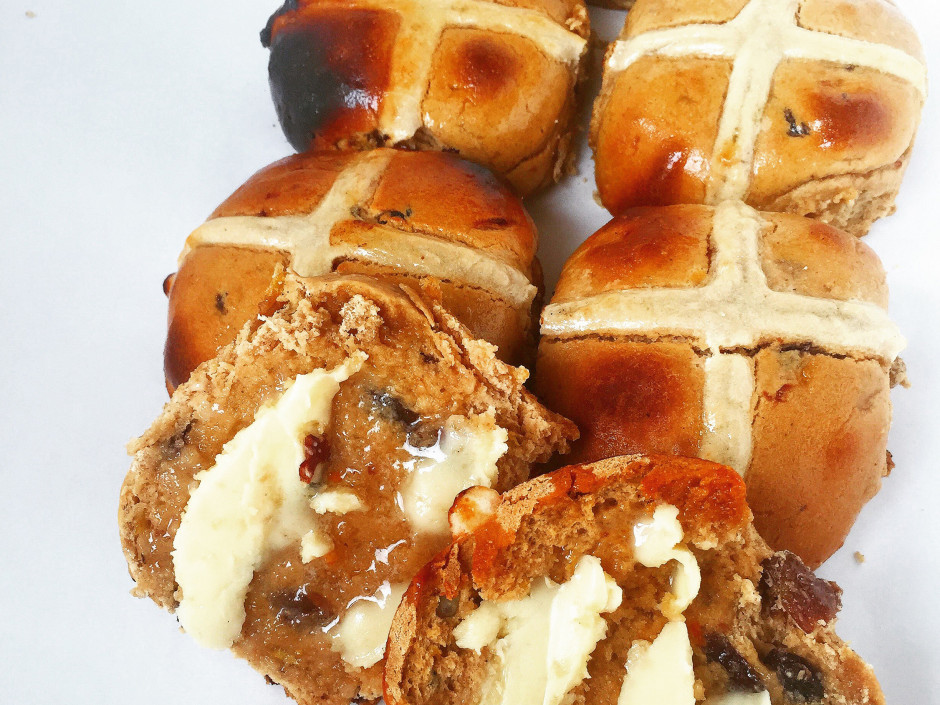
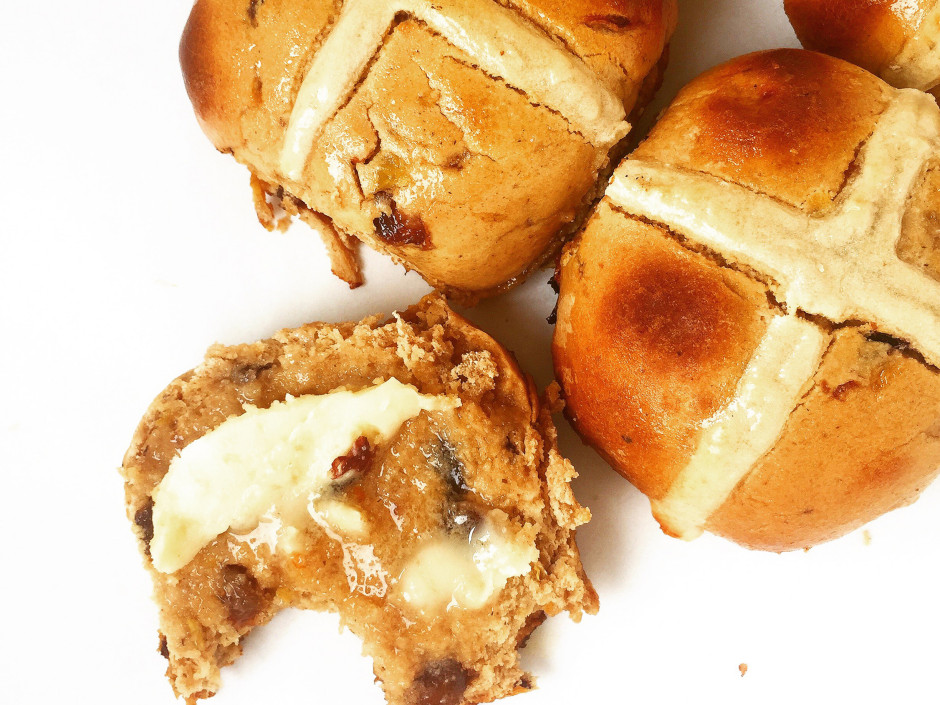
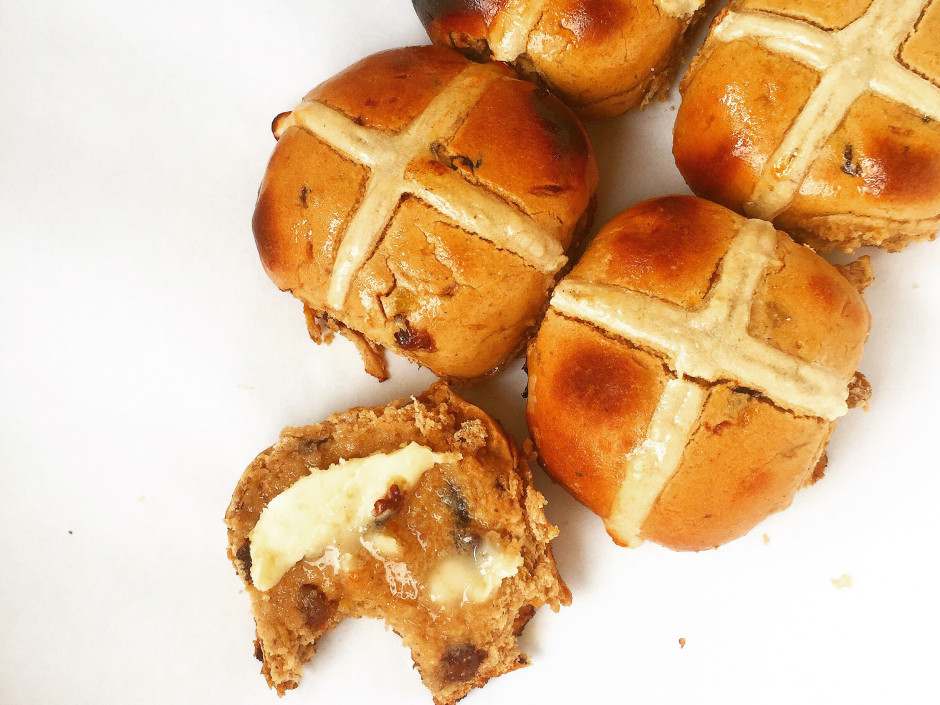
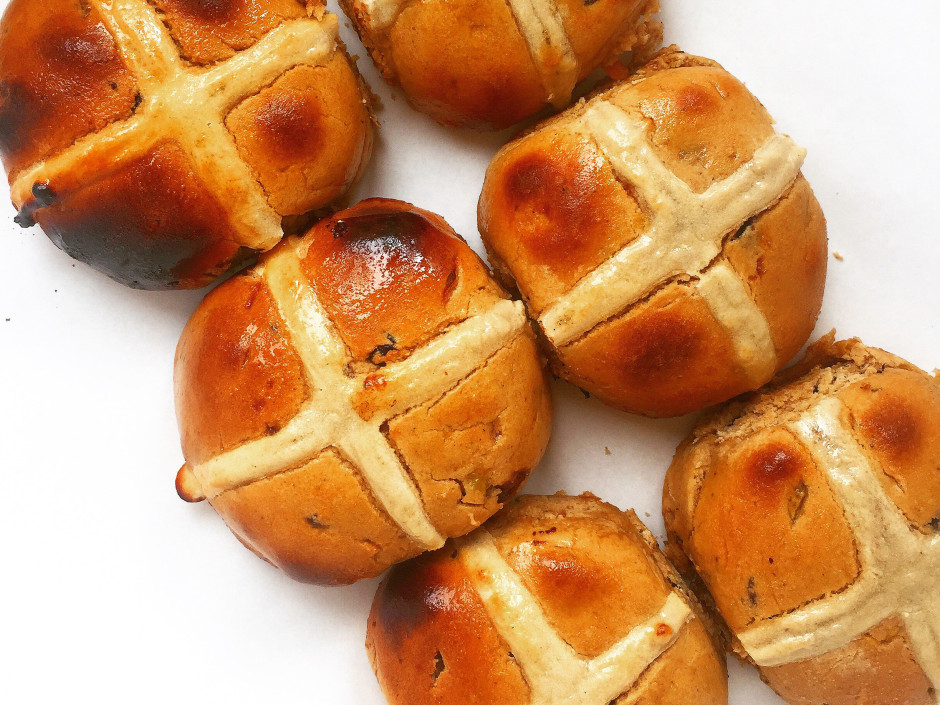
Anyway guys, these taste amazing – they really do taste like real hot cross buns, they do however weigh a tonne yet are incredibly light on your stomach and so you could honestly eat about 3 of them before feeling full! The texture is very similar to the real deal but as is with all things baked and Paleo, they will never be just as fluffy – even though these are pretty damn fluffy. I’m going to toot my own horn here and say that these are the best Paleo Hot Cross Buns out there.
I’ll tell you now before you all start asking – no you can’t sub the potato starch, it’s just not going to turn into a bread dough without it, and so these are meant as just a one off seasonal treat. If you’re safe with tapioca flour you’re likely to be fine with potato starch, and anyhow resistant starch is a fab little thing to have once in a while.
This recipe will require you to buy a whole bunch of ingredients (sorry) and you will also need a food processor, baking tray and some disposable piping bags (or even a regular one). They’re also best served freshly baked as potato starch has an annoying tendency to firm up and so the result is a rather dry bread. If you’ve got to reheat them I actually recommend steaming them as it will put the moisture back into the bread again. Otherwise sprinkle with water and re-heat in the oven on a very low heat until hot all of the way through.
If you are looking for a super quick and clean fix, or maybe you’re a raw foodie or Vegan, then check out Paleo With Mrs P’s amazing Paleo No Bake Hot Cross Buns.
- 300ml nut milk (or diluted tinned coconut milk 1 part coconut milk to 1 part water)
- 50g raw grass-fed salted butter (or 25g coconut manna and 25g coconut butter)
- 2 tbsp/30 ml coconut oil
- 1½ cup potato starch
- 1 cup tapioca flour
- ½ cup almond flour
- ½ cup coconut flour
- ¾ cup coconut sugar
- 1 tbsp/15 ml baking powder
- 4 tsp ground cinnamon
- 2 tsp Doves Farm Xanthan Gum
- ½ tsp ground nutmeg
- ¼ tsp ground cloves
- ¼ tsp Doves Farm Vitamin C
- 1 tsp Doves Farm Quick Yeast
- 1 egg
- 1¼ cup tapioca flour (for 2 kneading stages)
- Upto 4 tbsp/60ml coconut oil (for greasing the dough and your hands!)
- 1 cup mixed fruit (sultanas, raisins, and mixed peel)
- Zest and juice of 1 orange
- 1 red apple (peeled, cored, and diced)
- 1 tbsp/15 ml raw grass-fed butter
- 1 tbsp/15 ml coconut sugar
- 5 tbsp/75 ml potato starch
- 1 tbsp/15 ml almond flour
- 3-4 tbsp/45-60 ml water
- 3 tbsp/45 ml raw honey
- Pour your nut milk into a small pan, place onto a low heat and bring to the boil. Turn off the heat and add your butter and coconut oil and stir in until dissolved. Set aside to cool for 5 minutes.
- Place the remaining ingredients for your dough (excluding the egg & extra tapioca flour reserved for kneading) into your food processor bowl and pulse a few times until everything is evenly mixed. Carefully pour in your cooled milk mixture, add your egg and pulse a few times before processing until smooth. The mixture will begin to form a very sticky ball of dough. And I mean sticky.
- Dust your surface with about ¼ cup of the tapioca flour and set aside the rest. Scrape out your dough onto the work surface and leave to cool for 10 minutes, this will help to make it less tacky.
- Now this bit is the incredibly messy bit, when working with gums and starches it becomes a very very sticky - prepare for your inner kitchen hell beast to be released. Sprinkle another ¼ cup of your tapioca flour over your dough. Now oil your hands with a little coconut oil and begin kneading the dough very gently but in the same motion you would regular bread - use the heal (bottom of your palm) of your hand, stretch the dough out and fold over. Rotate and repeat. Do this until the dough forms a nice firm ball that is no longer tacky. Using 1 tbsp of your coconut oil that has been set aside for greasing, melt into your hands and then gently wipe all over the dough. Place the dough into a large (heatproof) mixing bowl and cover with a very damp towel - but not dripping wet!!!
- Turn your oven on to 50-75C/120F-170F and place your covered dough into the oven on the bottom to middle shelf. Close the door and leave for 10 minutes. Turn off the oven and leave for a further 5 minutes before removing and checking on the dough. Place back into the oven for a further 15 minutes. Your dough will be ready when it either has risen to twice the size and/or you can press your finger in and leave a permanent indentation.
- Whilst your dough is rising prepare your fruit mix. Place your dried mixed fruit into a bowl, zest in your orange, squeeze in the juice and then using your thumb scoop out a few bits of juicy pulp. Stir this together and then set aside.
- Start by caramelising your apple. In a small pan melt your butter on a low heat, add in your coconut sugar and then your diced apple. Cook until the apple becomes lightly golden and all of the moisture has evapourated. Pour into your fruit mix and stir in thoroughly. Set the mixture aside.
- Remove your dough from the oven and set aside. Using ¼ cup of your tapioca flour dust your work surface. Turn out your dough onto the work surface and then flatten the dough out with the palm of your hand. Prepare for things to get extra messy again, I know I'm sorry! Pour your fruit mixture (juice and all) over your dough and carefully fold the dough over. Begin to knead the dough with your hands until it is very very sticky.
- Add another ¼ cup tapioca flour over your dough and knead it again like you did in step 4 until your dough forms a nice ball again. You may need up to another ¼ cup of tapioca flour for this to be possible. Roll your dough into a long sausage and divide into 9 equal pieces.
- Grease and line a baking tray with baking parchment. Roll each piece of dough into a nice smooth and round ball, lightly grease with your coconut oil and place onto your lined baking tray. Make sure that the dough balls are placed directly next to each other on the tray. Cover with a damp tea towel and place back into your oven at 50-75C/120F-170F for 15 minutes. Make sure you heat the oven for the first 10 and then turn off for the remaining 5 minutes.
- Start preparing your cross mixture by mixing all of the ingredients into a small bowl until a thick paste has formed. Fill your piping bag, I used a disposable one, twist and set aside.
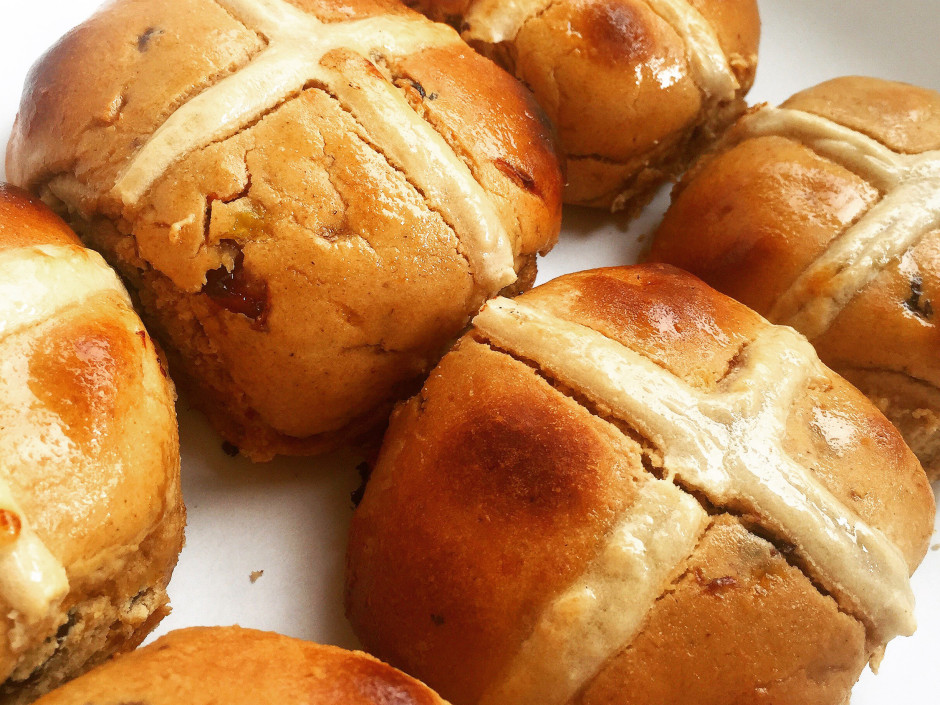
- Remove your buns from the oven and remove the tea towel. Pre-heat your oven to 180C/350F/Gas Mark 4. Using your piping bag pipe a line across the row of buns in one direction and then repeat in the opposite direction to create your crosses.]
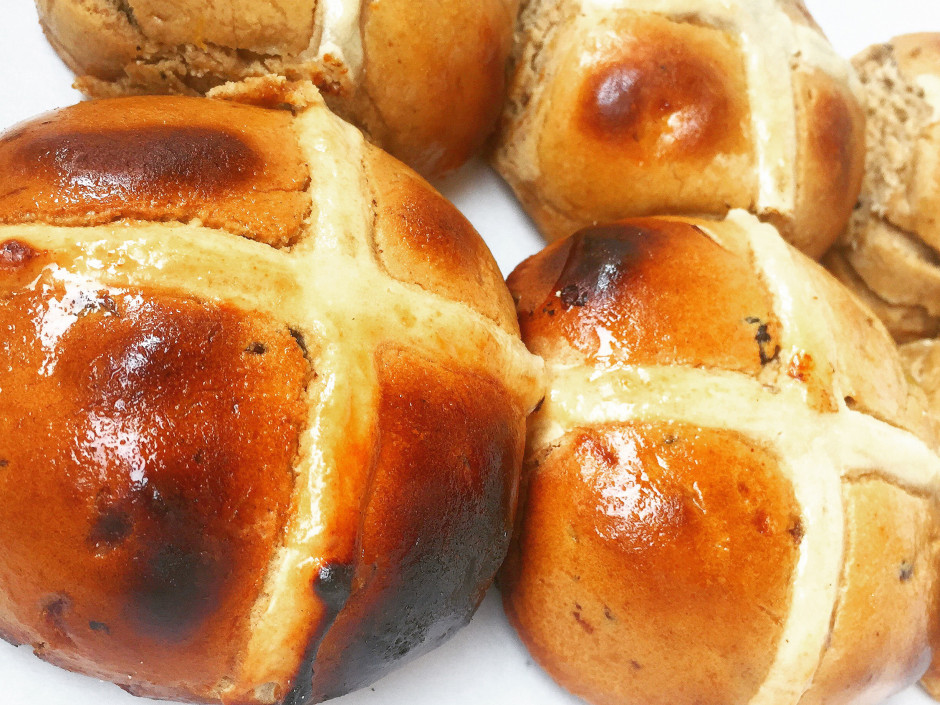
- Place your buns into the oven for 20-30 minutes until a lovely golden brown colour. Keep checking your buns by placing a sharp knife into the side of the bun right through into the middle, when you remove only a few moist crumbs should come off and the knife should be piping hot. All ovens are different so you may find that it takes longer or even less time to bake. If you feel that they are browning too fast then cover them with tin foil with the shiny side up, this will stop them from burning. In all honesty I always do this when baking as the flours I use all usually have high fat contents.
- When your buns are ready remove them from the oven and set aside. Melt your raw honey in a small cup in the microwave and using a pastry brush glaze the buns generously. Place back into the oven for a couple of minutes. Remove and then leave to cool for 5 minutes before removing the buns and placing them on to a wire rack to cool completely. And there you have it some real Paleo hot cross buns for you to slather over as much butter on as you like!
Prep time includes up to 1 hour rising time, and cooking time can take anywhere between 20-30 minutes.
*Please note that all cup measurements used are British cups and thus equal to 250ml.



8 Comments
jessie
23rd June 2015 at 9:14 amThese look wonderful! I’m definitely making these tomorrow!!! I too have a penchant for paleofying everything i used to eat!! And I have a particular love of hot cross buns…or cinnamon buns in general. in fact…all bread! Love to make it..love it to eat it! thanks for your wonderful looking recipe 🙂
greensofthestoneage
28th June 2015 at 10:00 pmI neeeed to make cinnamon buns so glad you like these (and like to paleofy everything). Did you make them?
Kelly @ A Girl Worth Saving
7th August 2015 at 3:26 amThese look SO yummy! These remind me of the perfect cross between wonderful fruit bread and a delectable buttered biscuit. These are certainly on my “must try” list. Thanks for sharing!
greensofthestoneage
8th August 2015 at 8:16 pmAwwww thank you if you do make them let me know if you have any suggestions to improve them! I always love a bit of feedback!
Laura
25th March 2016 at 8:14 pmMade these today! Not just the BEST paleo hot cross bun I’ve ever made (I made one last year that was ok but not AMAZING like this), but they are the BEST I’ve ever made, full stop! I can only imagine how long it took you to get the balance of flours just right For anyone tempted to try these, PLEASE DO!!! Don’t let the long list of ingredients put you off! Also, I really didn’t find the mixture as tricky to manage as I thought I would, v similar to “normal” bread dough which should be sticky to get a decent rise
greensofthestoneage
25th March 2016 at 9:29 pmHi Laura, thank you ever so much for leaving such a wonderful comment! I’m so pleased to hear that you’ve enjoyed my hot cross buns They were a nightmare to develop but well worth it if it means receiving comments like this. Have a wonderful Easter and stuff your face with deliciousness! Lots of primal love, Georgie
Becca
26th March 2016 at 1:14 pmI’ve never used vitamin c in baking before, is that the same as absoric acid ( like I’d use for canning?) Does it help with leavening?
greensofthestoneage
26th March 2016 at 8:15 pmHey Becca, yes that’s totally the same thing! It does help with making a good rise – I always add it to my breads.